These days, the latest smartphones come with such powerful image stabilization that I feel the need for a separate gimbal has almost disappeared.
However, when filming videos, I bought the Osmo Mobile 6 because I thought it would be useful not so much for the gimbal’s main purpose, but for the following uses:
-
Shooting video from a low angle
-
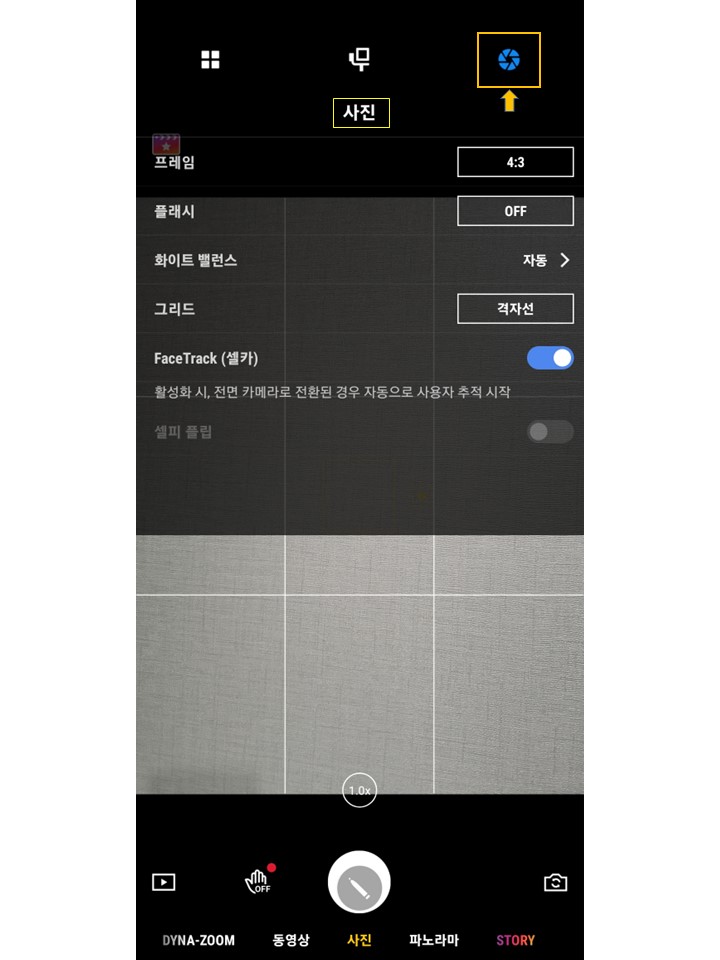
Active tracking of subjects in tripod-mounted or selfie mode
-
Smooth angle rotation
I have summarized the simple usage of the Osmo Mobile 6, a representative smartphone gimbal, based on Android OS.
After unboxing the Osmo Mobile 6, the first thing you need to do before using it is install the DJI Mimo app.
The DJI Mimo app cannot be downloaded from the Google Play Store, so you need to download it from the DJI website.
If you click the image below, you will be connected to the download link on the DJI official website.
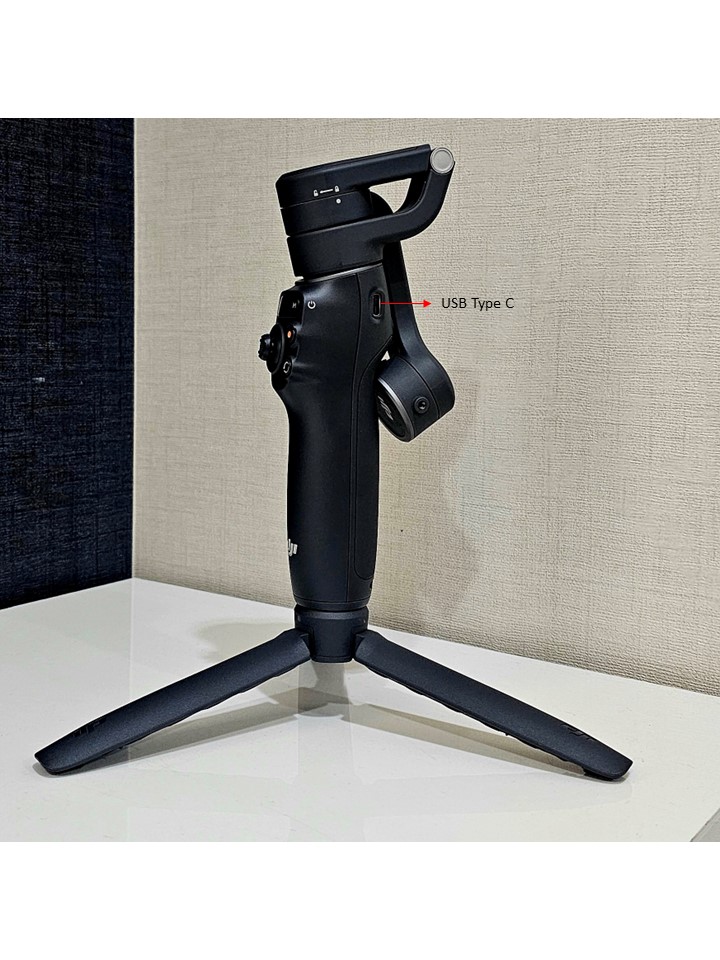
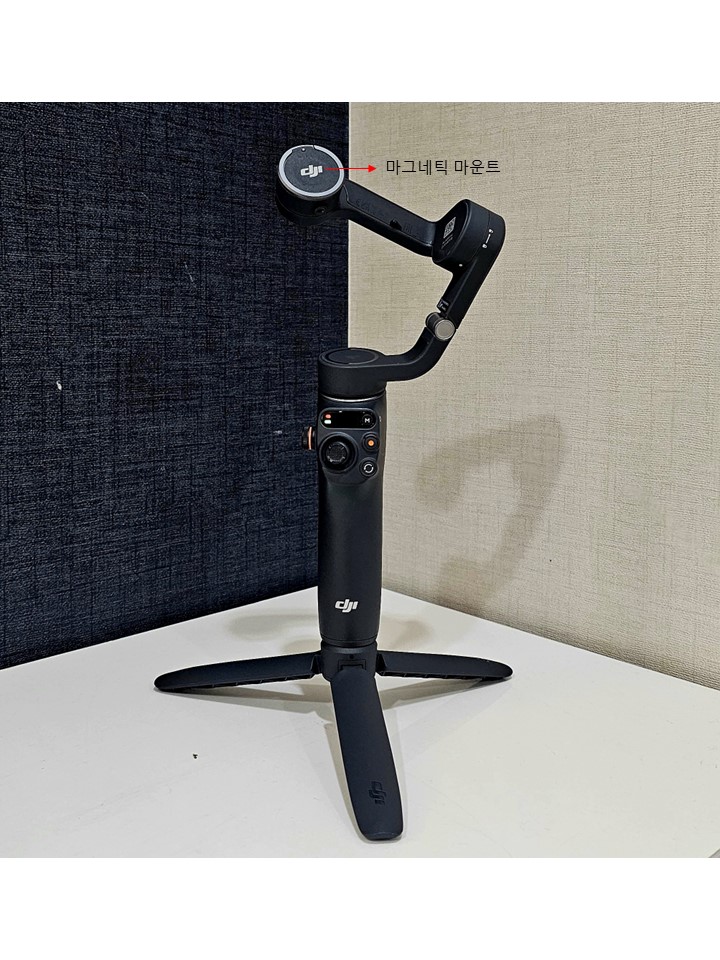
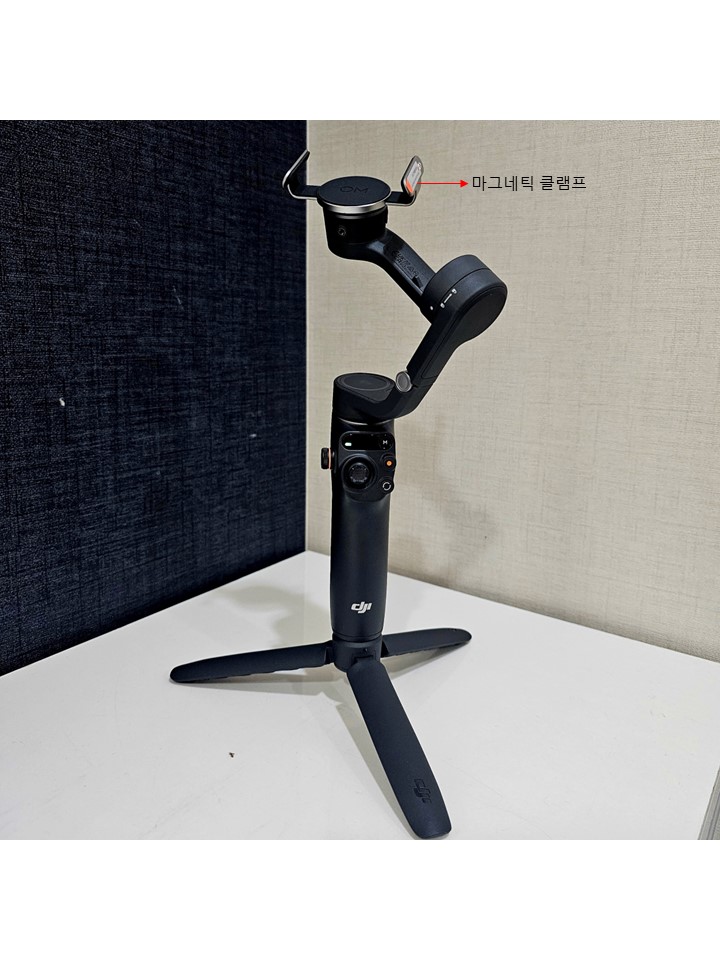
After installing the Mimo app downloaded to your smartphone, attach the magnetic clamp to the smartphone and unfold the joints of the Osmo Mobile 6 (hereafter referred to as OM6), then attach it to the magnetic mount to begin preparing it for use.
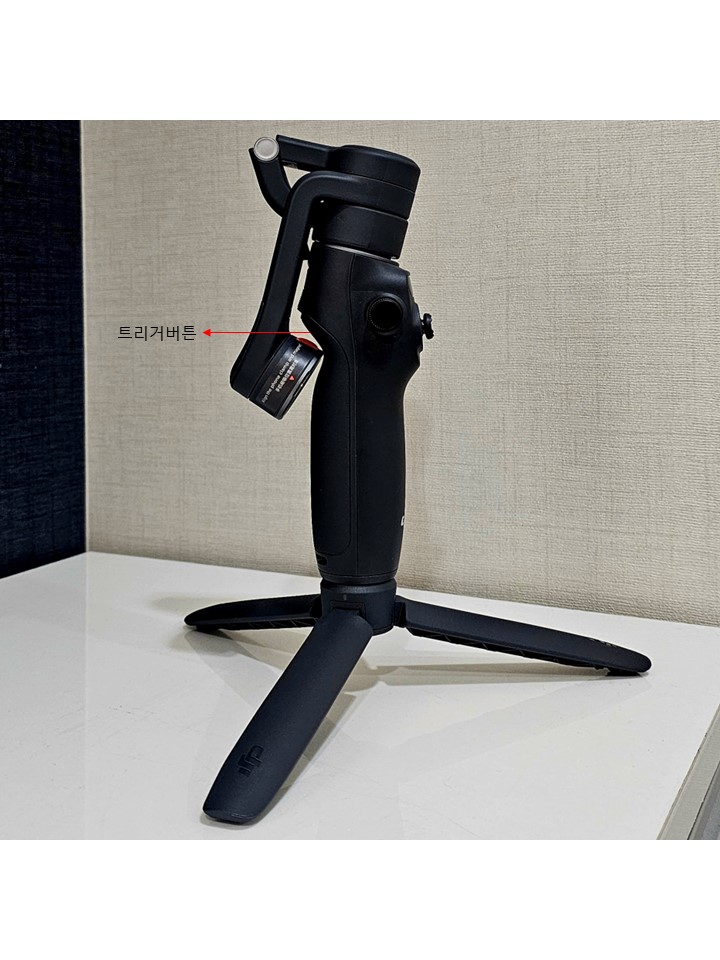
Before unfolding the joints, you need to turn the joint area clockwise to set it to the proper position for unfolding (the position opposite the trigger button).
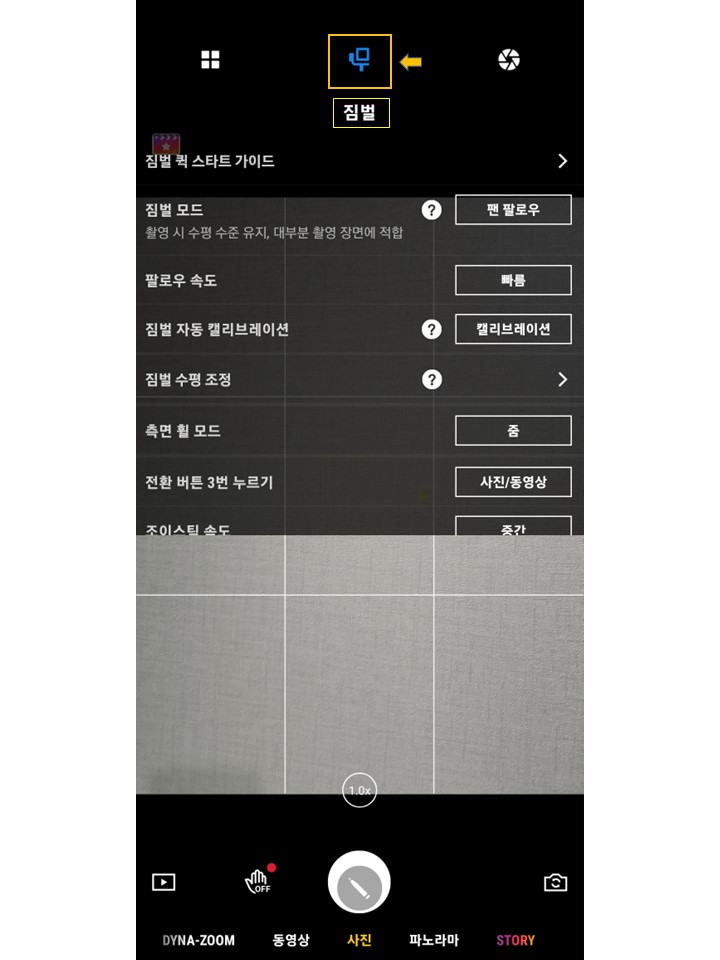
After attaching the smartphone mounted in the magnetic clamp to the OM6, the first thing to do is open the Mimo app on the smartphone and connect the device.

After connecting the device, you need to calibrate it in the Mimo app.
Calibration is performed after attaching the included tripod and placing it on a flat surface.
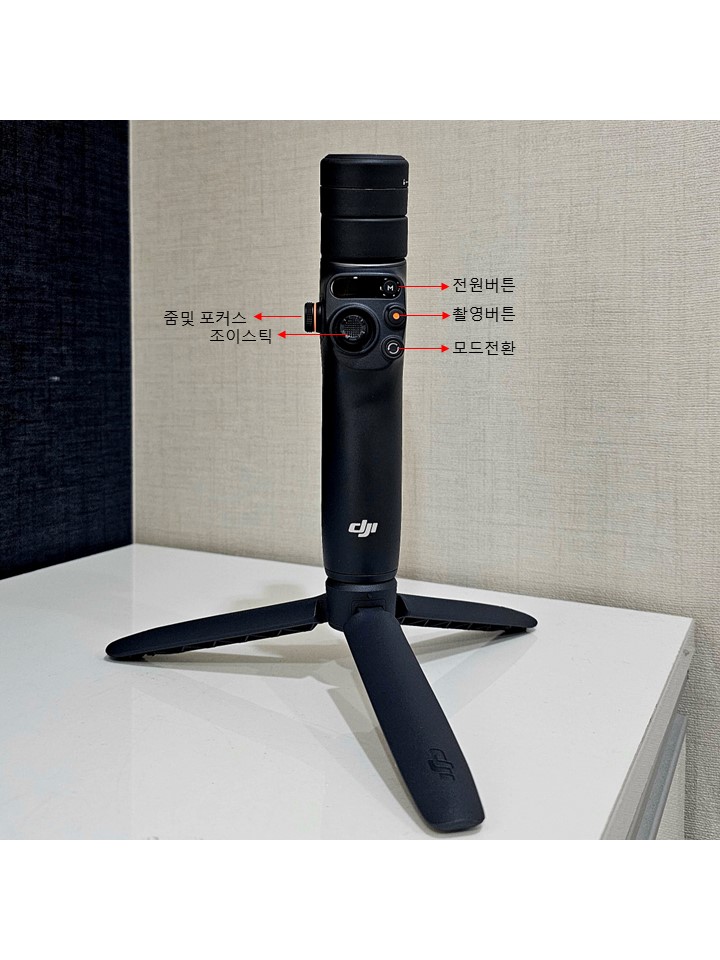
Button functions
- Power button / M button - Short press to switch between the four gimbal modes (pan follow, tilt lock, FPV, spin shot); long press to turn the power on/off
-
Shutter button - Button to start taking a photo or recording a video
-
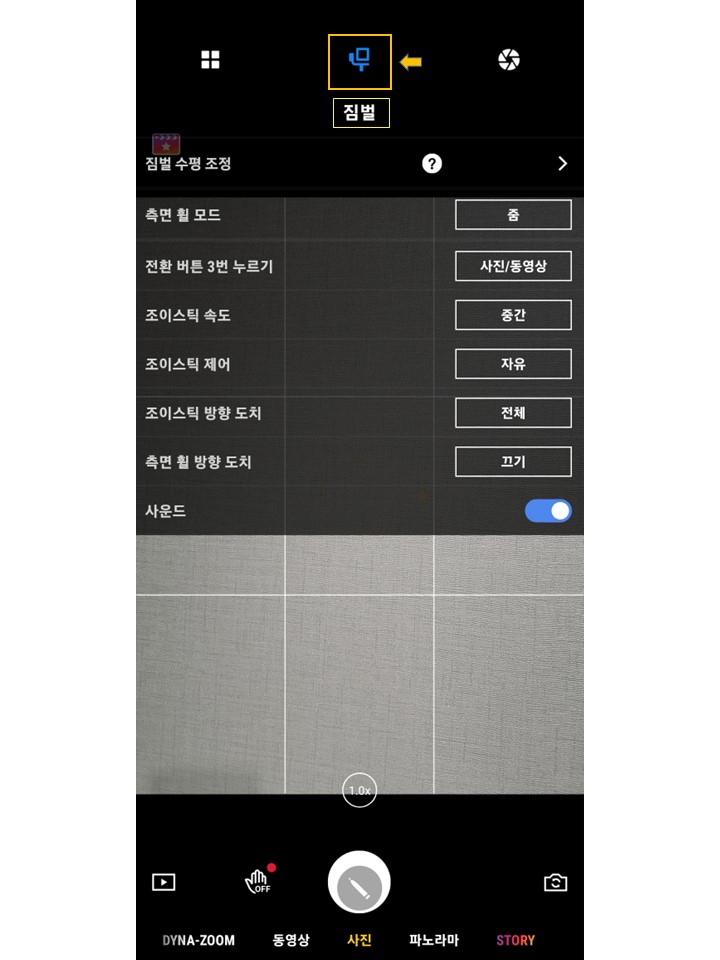
Mode switch button - Press once to switch between selfie and rear camera, press twice in quick succession to switch between landscape and portrait mode, press three times in quick succession to switch between photo and video mode
-
Side control wheel - Turn the wheel to zoom, or turn it to adjust focus in manual focus mode. Press the wheel to switch between each mode (zoom or focus)
-
Joystick - Button for moving the gimbal up/down and left/right
-
Trigger button - Active Tracking on/off