Hello, dentists,
You want to try doing resin build-ups,
but if you’re currently an employed dentist, or just too busy,
is it hard to even imagine
building up each cusp one by one every time?
Even after carefully shaping it,
once you adjust the occlusion, everything gets flattened anyway,
and when it feels difficult,
try the “stamp technique” once.
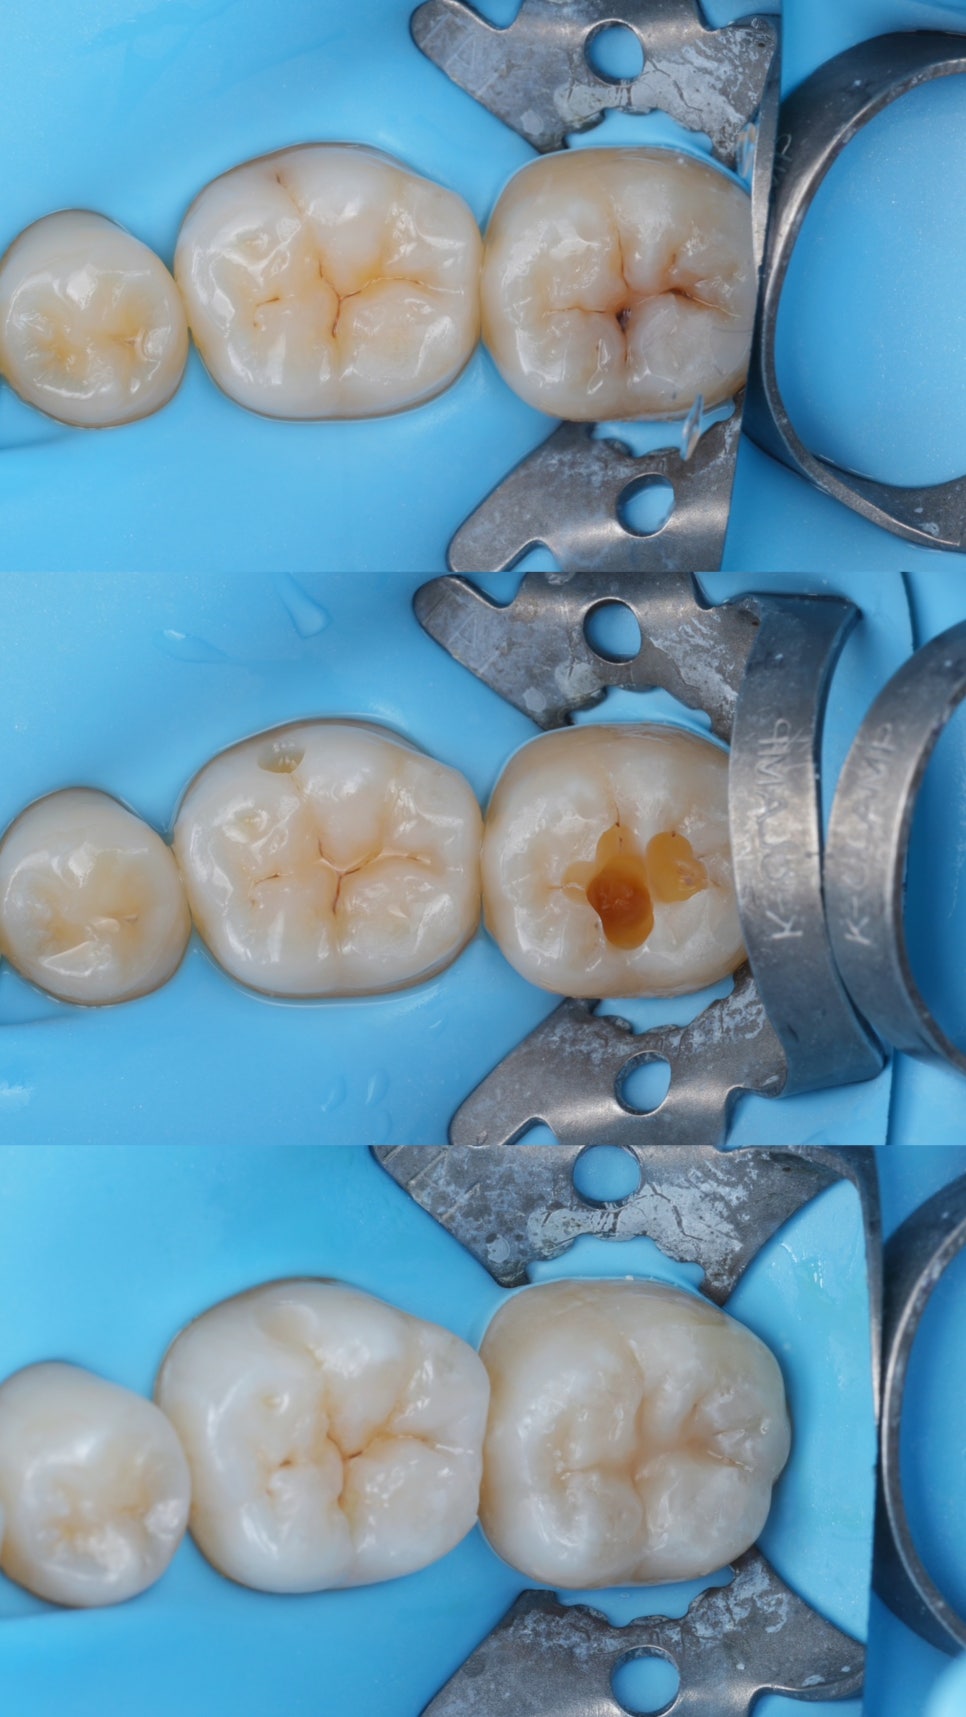
In cases of caries where the cavity has not collapsed,
you can treat them very pleasantly.
Resin stamp technique
Here are the materials you’ll need
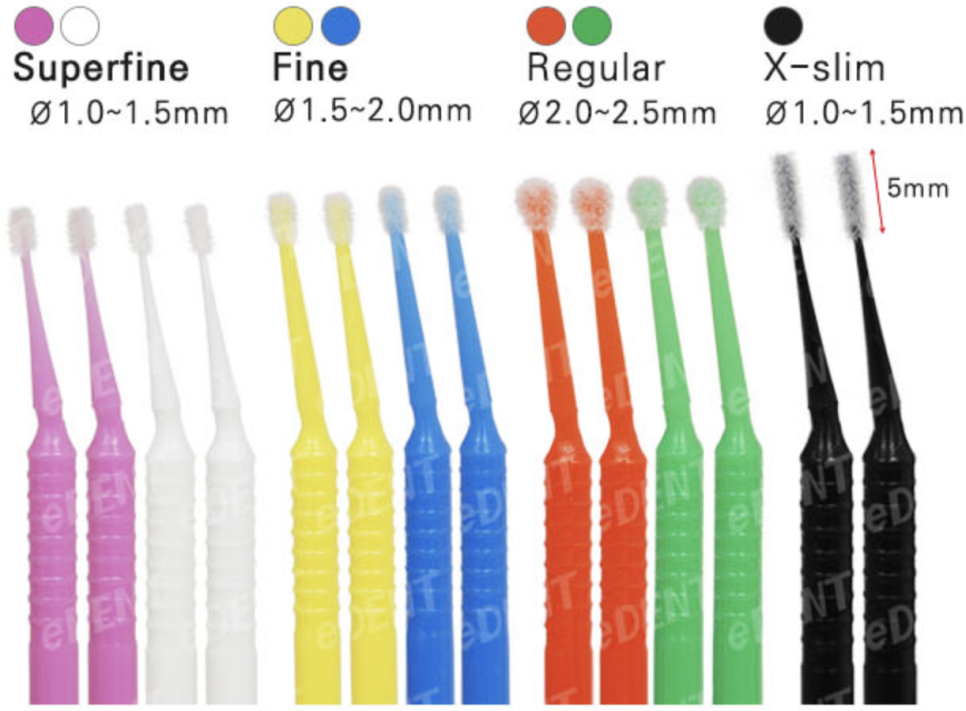
✦ Micro brush (Edent)
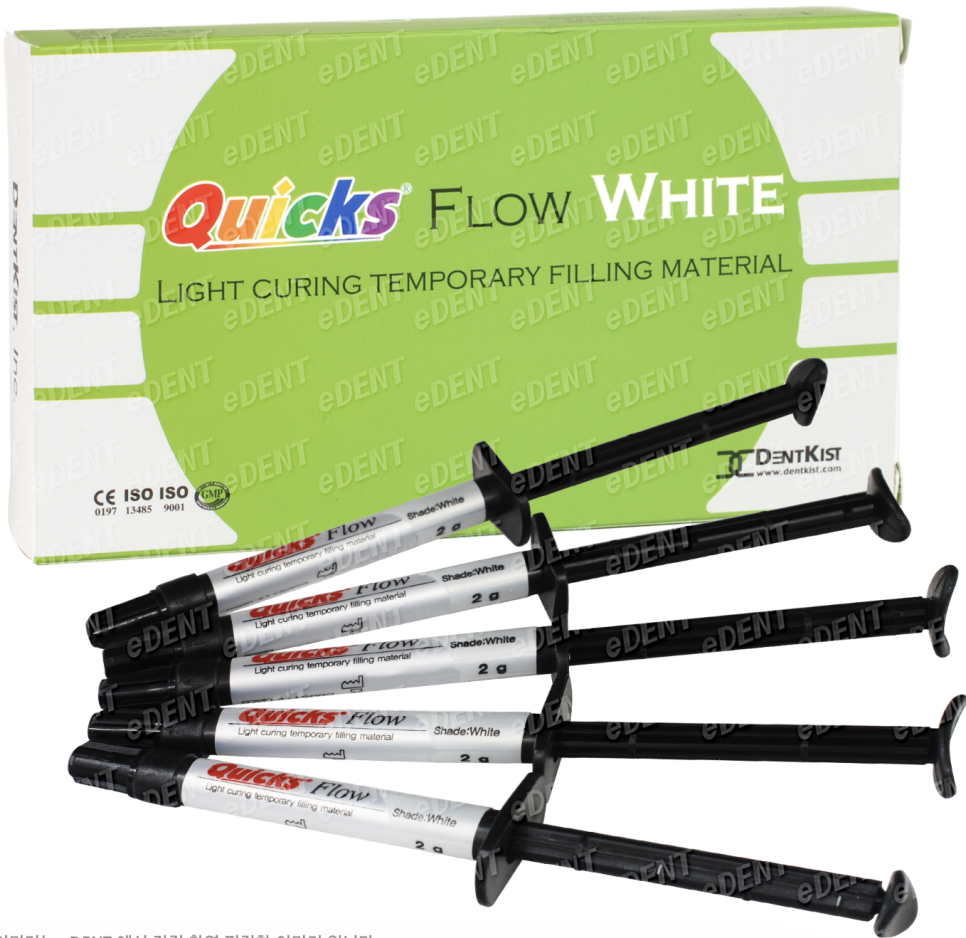
✦ Quicks Flow (any flowable temporary filling material)
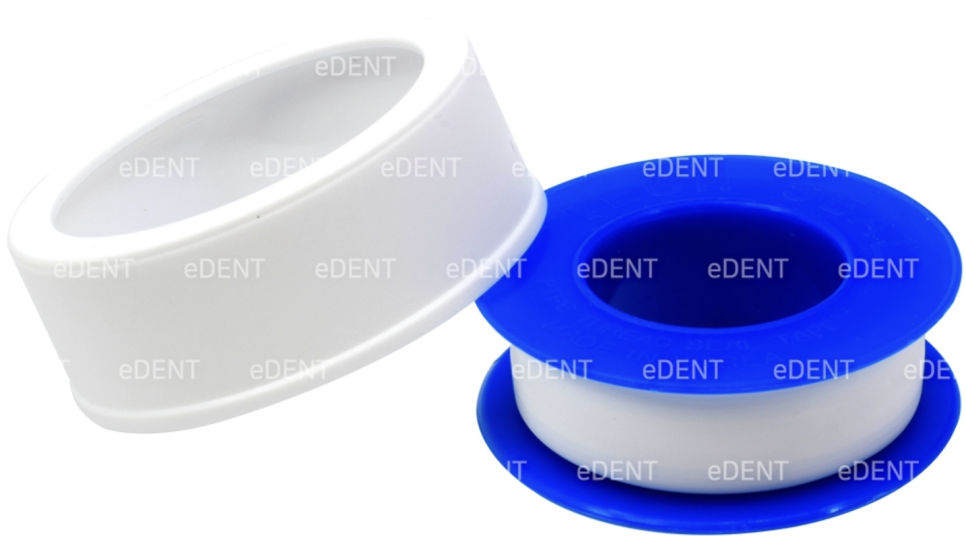
✦ (Medical) Teflon tape
✦ Fissure resin applicator

The photos were taken from Edent.
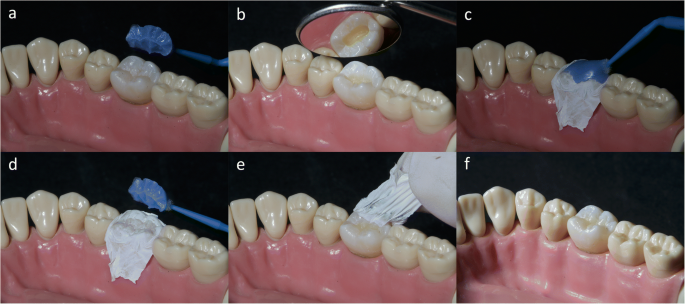
First, before removing the caries,
✦ gently wet the pit and fissure with Quicks Flow.
If needed, you can lightly air-dry it,
but if you blow air as a beginner, there’s a high chance of messing it up.
Just let it flow in gently,
✦ lightly place the micro brush on top,
and squeeze a little more Quicks to cover the brush.
Then after light-curing and removing it,
the pit and fissure on the occlusal surface
should come out imprinted in the Quicks, right?
Later, you stamp that into packable resin
to reproduce the cusp incline.
But Quicks is also resin, right?
So if you stamp the packable resin with the Quicks stamp,
the Quicks and resin will stick together and ruin everything.
So first, apply the packable resin
well enough to fill the cavity,
and ✦ cover it with “Teflon tape”
before stamping.
Then carefully peel off the tape,
✦ use the fissure instrument
to remove the resin pushed out beyond the cavity,
and then light-cure it.
Then you’ll get a reasonably good result haha
Because the cavity, or the resin placed on it, is vulnerable to moisture during this process,
it’s best to attach a rubber dam.
When stamping,
you absolutely have to press firmly—hard.
If you hold the micro brush and press at that moment,
the stamping will never work well.
✦ So in the first place, you can also do it without using a micro brush
by using a metal stopper.
Put your thumb inside the mouth
and press the stamp firmly,
or at least use tweezers, a stopper, or another stiff instrument
to press strongly so the stamp makes a good impression.
If you stamp it well,
there’s no need for occlusal adjustment.
Just refine the resin that was pushed outside the cavity
and do polishing.
Here’s a tip to reduce trial and error:
When making the stamp with a material like Quicks Flow at the beginning,
it’s better to use a structure that can serve as a reference.
You could cover the buccal cusp..
or make a zig up to the adjacent tooth..
There are many different methods.
Or you can make the stamp with non-elastic
flowable resin, but that’s a bit expensive, right? Still, it’s good.
Or just stamp only the occlusal table
and remember the reference points well by eye.
But when you’re a beginner,
if you only stamp the area where the carious portion will be removed,
it can go wrong. (Of course, that makes sense, right?)
You must make sure the stamp stops on healthy tooth structure
and establish your reference points well.
But when you actually cover the tooth with Teflon tape to stamp it,
everything gets hidden, so it’s hard to find the reference points,
so whether you cover the buccal cusp or make a jig with the adjacent tooth,
I hope you find your own method.
Of course, this can only be used in cases
where the cavity has not collapsed,
and for cases where the cavity has collapsed...
it should be possible to scan, reproduce the cusp in CAD,
and print a jig to use for stamping.
But I think I would probably just do a resin build-up in that time anyway haha
A friend found the resin stamp technique fascinating,
so I shared it here.
Doctors, please try it at least once :-)