Hello. I am Park Jae-hyung, Director of Wonjin Dental Clinic.
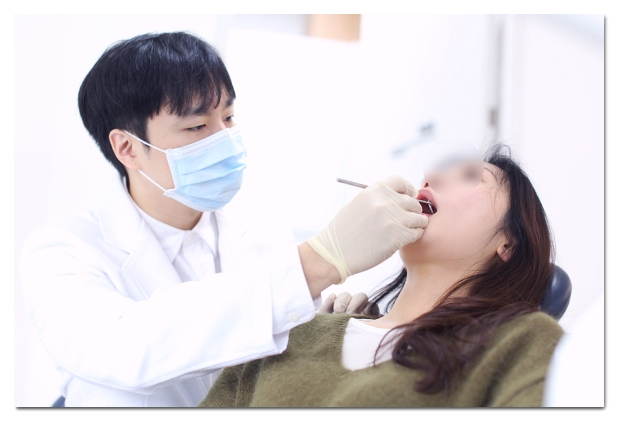
How many visits are needed for veneers?
Is it very painful?
When considering veneers, many people are curious not only about the before-and-after photos but also about “What actually happens, and how is it done?”
It can feel much less stressful when you have a clear idea in advance of how many times you will need to visit the clinic, whether it will hurt, and how you will manage while waiting.
So today, I will explain the process from the initial veneer consultation through placement, along with the precautions to take at each stage.
Although patients may not be familiar with them,
these step-by-step precautions are very important for receiving a successful veneer procedure.
Please save this post and read it again later.
To answer the questions I am asked most often—“How many visits will I need?” and “Will it hurt a lot?”—
many cases are completed in about two or three visits, and the less tooth reduction required, the less pain and discomfort you are likely to experience.
(A one-day procedure that is completed in a single day is also available in some cases.
However, the exact process varies depending on the condition and number of teeth, so it is best to receive specific guidance after a diagnosis.)
Veneer Procedure
-
Step 1. Consultation and detailed examination
-
Step 2. Tooth preparation
-
Step 3. Taking impressions
-
Step 4. Temporary veneers and the waiting period
-
Step 5. Fabrication of the veneers
-
Step 6. Placement (bonding)
-
Step 7. Bite adjustment and aftercare
Step 1. Consultation and Detailed Examination
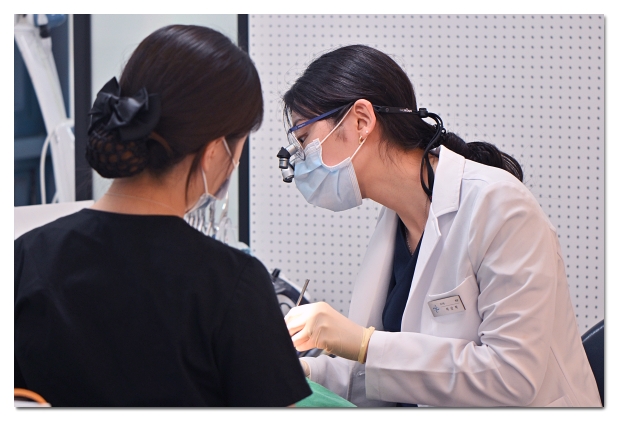
This is the first step, in which the condition of your teeth is assessed accurately.
X-rays and an oral examination are used to check for cavities or gum disease, as well as the alignment of your teeth and the gum line.
At this stage, you will also discuss the desired color and shape, along with a design that suits your facial appearance.
Depending on the clinic, a mock procedure or simulation may also be carried out to show you what the finished result may look like.
Precautions:
Consultations and examinations are ultimately performed by people, so when things are busy or rushed, it is easy to miss details.
That is why it is important to choose a clinic that allows enough time to examine your teeth carefully and provide a thorough consultation.
In addition, if you have cavities or gum problems, those should be treated first.
If you are only told that a significant amount of tooth reduction is necessary, be sure to check whether a less invasive option, such as orthodontic treatment, might be more appropriate.
In fact, I have often seen the level of satisfaction with the result vary greatly depending on how this consultation is conducted.
In some cases, veneers that feel awkward and completely different from the patient’s intentions are produced.
I have explained below how to prevent this, so please be sure to read it.
Step 2. Tooth Preparation
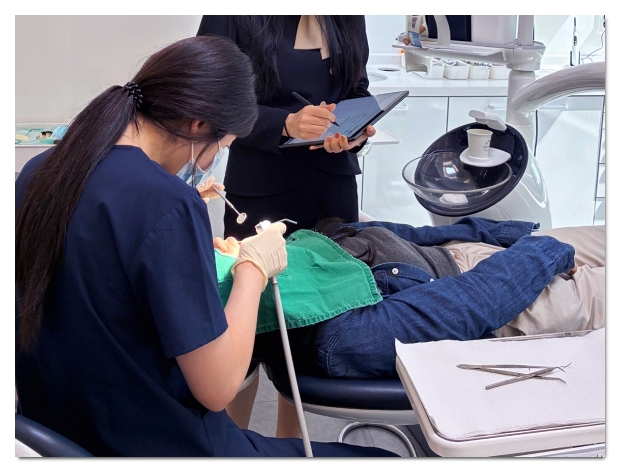
Once the design has been decided, the surface of the tooth is carefully reduced by a very small amount to create space for the veneers.
These days, the goal is often to avoid or minimize tooth reduction
(although the condition of the teeth must meet the necessary requirements),
so teeth are often not reduced as much as they were in the past.
The less reduction required, the less sensitivity you are likely to feel, and the procedure can be performed comfortably with light anesthesia when necessary.
Precautions:
Once a tooth has been reduced, it cannot be restored to its original state.
That is why “how much tooth structure is preserved” is the most important consideration.
The more of the hard enamel on the surface that is preserved, the better the bonding can be, helping prevent the veneer from coming loose and reducing side effects such as cavities.
You can find out why minimizing tooth reduction is important and how it can be achieved in the post below.
Step 3. Taking Impressions
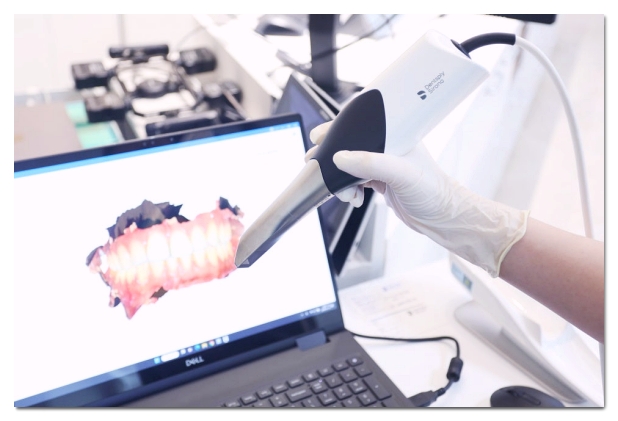
This is the step in which an accurate impression is taken of the prepared teeth.
In the past, patients would bite into a clay-like material to make an impression.
These days, digital impressions are often taken quickly and comfortably with an intraoral scanner.
Your individual veneers are fabricated based on this impression.
Precautions:
One important point is that although the dentist determines the overall direction of the veneers, the actual fabrication is performed by a dental technician.
Therefore, the result depends on whether the dentist checks the details repeatedly to ensure they are properly reflected by the dental laboratory and carefully organizes and communicates the requests.
Communication and detailed requests are especially important at this stage.
Step 4. Temporary Veneers and the Waiting Period
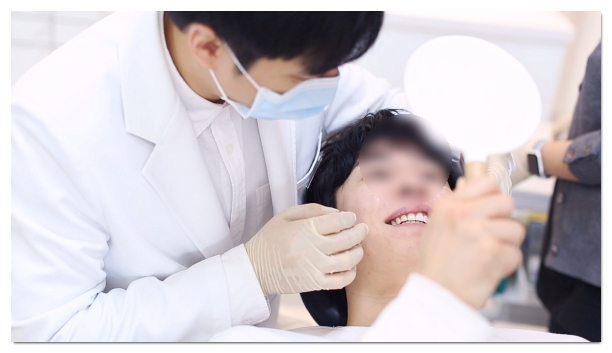
While the veneers are being fabricated, temporary restorations are placed so that you can continue with your daily life. (This usually takes about a week.)
During this period, the prepared teeth are protected, and you can get an initial sense of the approximate shape and feel.
Checking in advance whether the temporary teeth feel uncomfortable when speaking or whether their length is burdensome makes it easier to reflect your feedback in the final result.
Precautions:
Temporary restorations are, by definition, temporary and therefore fragile.
It is best to avoid hard or sticky foods, such as nuts, taffy, and chewy meat.
If a temporary tooth comes loose or breaks, contact the clinic immediately.
Step 5. Fabrication of the Veneers
The actual veneers are made based on the impression, and there are two main fabrication methods.
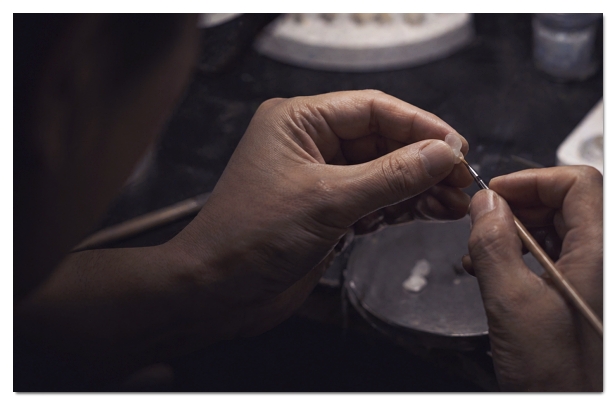
One method involves milling them with a machine, while the other involves building up the material layer by layer with a brush.
The key point is that even when the veneers are milled by machine, having a person further refine them by hand can make them much thinner and more detailed.
Although this adds another step because the veneers are refined by hand, maintaining this level of detail is one way to reduce the amount of tooth reduction and create more natural-looking veneers.
The method of building them layer by layer with a brush has the advantage of allowing an extremely thin thickness from the outset.
In addition, it allows detailed expression of the translucency that increases toward the edges and the natural color of the teeth.
For this reason, natural-looking veneers are often made with a brush.
Precautions:
Since the way color and natural appearance are expressed varies depending on the fabrication method, it is important to ensure that the brightness and translucency are adjusted to suit your skin tone and lip color.
Step 6. Placement (Bonding)
This is the step in which the completed veneers are attached to the teeth.
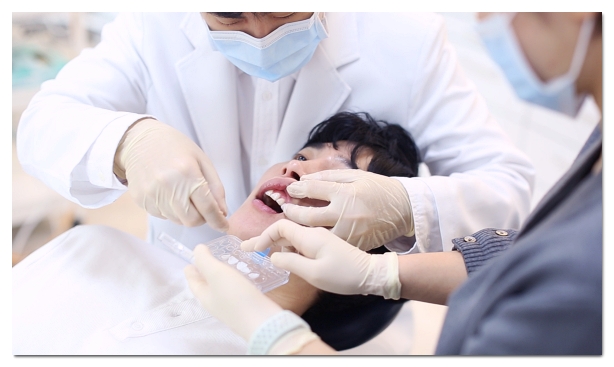
First, the veneers are tried on to check that the color and shape fit well, and they are then firmly attached using a dedicated bonding agent.
Because cleaning the tooth surface and preventing moisture contamination before bonding affect the strength of the bond, you may need to keep your mouth open and cooperate for a short period of time.
Precautions:
Regardless of the different stages involved in the veneer procedure, high-quality bonding materials should be used throughout.
That is how important the bonding agent is.
In addition, the color of the veneers can appear different when placed on the actual teeth depending on the type of bonding agent used.
That is why, in our clinic, we change the bonding agent at least two or three times to check which color suits the patient best before completing the final placement.
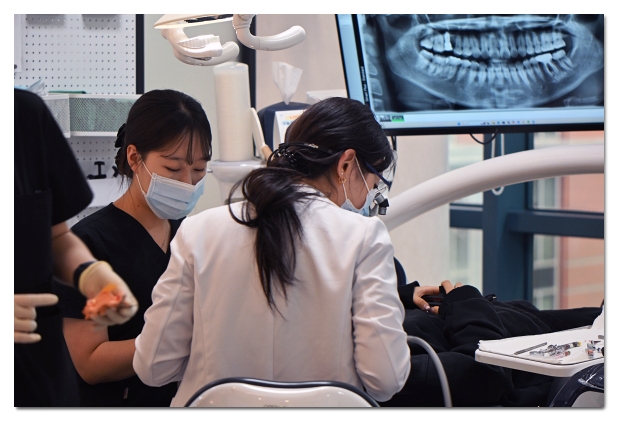
Since veneers are difficult to remove once they have been attached, check whether this step is carried out carefully and whether a good bonding agent is used.
Step 7. Bite Adjustment and Aftercare
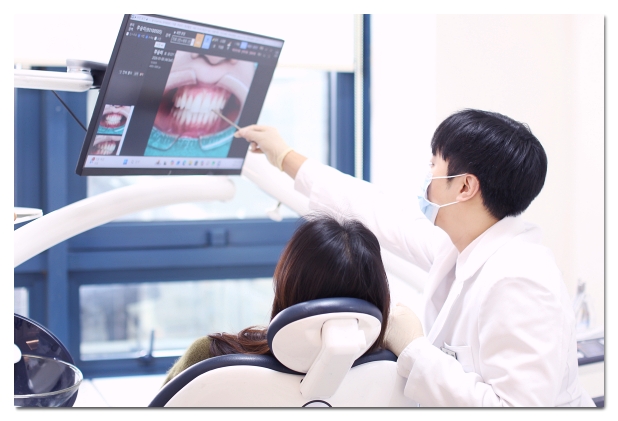
After placement, the way the upper and lower teeth come into contact—the bite—is checked and finely adjusted.
In fact, this final bite adjustment is very important for preventing fractures, but veneers often break when this step is neglected.
Even when the bite has been adjusted properly, you may experience discomfort while using your teeth.
For this reason, in some cases we also perform a second bite adjustment.
Precautions:
Bite adjustment requires sufficient time to be performed in detail, so it is advisable to check whether the clinic provides an environment where the procedure can receive full attention and allows enough time.
After the procedure, avoid habits such as biting through hard foods with your front teeth or grinding your teeth.
If you grind your teeth severely, a mouthguard worn during sleep may help.
Above all, regular checkups and basic care, such as thorough brushing and flossing, are the key to maintaining the result for a long time.
Veneer Procedure Summary
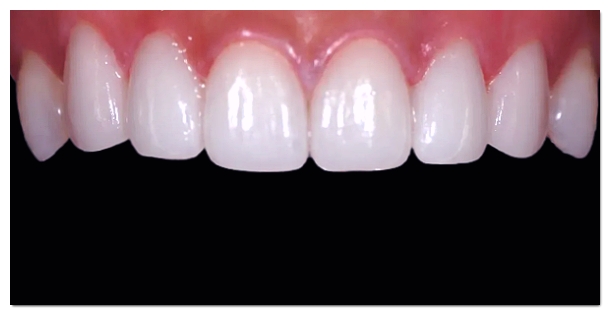
In summary, veneers are placed through the following sequence: consultation and diagnosis, tooth preparation, impression-taking, the temporary period, fabrication, placement, and adjustment. You will usually need to visit the clinic about two or three times.
Understanding why each step is necessary and proceeding through them one at a time can greatly reduce any vague anxiety you may have.
Today’s post summarizes the precautions for each stage of the veneer procedure.
Please save it and review it several times before undergoing the procedure.
Thank you. This was Park Jae-hyung.