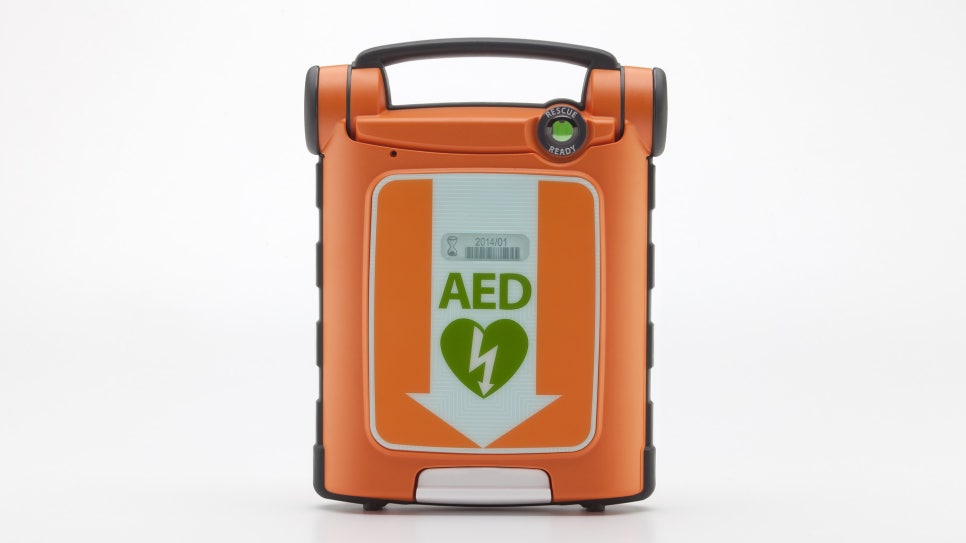
Cardiac arrest is broadly divided into two types depending on whether electrical shock (defibrillation) is possible. One is a shockable rhythm, such as ventricular fibrillation, and the other is a non-shockable rhythm. To distinguish between these two, the cardiac rhythm shown on an electrocardiogram must be analyzed. The device that analyzes the rhythm and tells you whether it is a shockable rhythm (whether defibrillation is needed) or a non-shockable rhythm (whether defibrillation is unnecessary), and that can immediately deliver an electric shock if needed, is the (automated) defibrillator (automated external defibrillator, AED).
Even if the defibrillator arrives while CPR is being performed, CPR is not stopped if there are two or more people. One person continues CPR while another takes out the defibrillator and presses the power button.
Next, firmly attach the two pads to the patient’s chest as shown on the package. The patient’s clothing must be removed, and if there is sweat or other foreign material at the pad placement site, it should be removed before applying the pads. The most commonly used method is to place one pad below the patient’s right collarbone (clavicle) and the other pad on the left side of the chest below the nipple, between the armpit line and the middle line. Because the correct placement is illustrated on the pads, simply follow the picture and place them in the same positions.
While the defibrillator is analyzing the patient’s ECG, CPR is briefly paused. To avoid confusion, avoid contact with the patient and make sure the patient’s body does not move. After a few seconds, the analysis is complete. If defibrillation is needed, the defibrillator charges the defibrillation energy on its own with a voice or screen instruction saying, “Defibrillation is needed.”
When the voice or screen instruction “Press the shock button” appears, confirm that no one is in contact with the patient and then press the shock button.
After defibrillation, CPR must be restarted without delay. The same applies even if the defibrillator analyzes and says, “Defibrillation is not needed.” CPR should be resumed immediately.
The defibrillator automatically analyzes the patient’s ECG every 2 minutes to determine whether defibrillation is necessary. Therefore, the rescuer should repeat CPR and defibrillation while the defibrillator is applied to the patient until the 119 ambulance team arrives at the scene or the patient recovers and wakes up.
In children under 8 years old, the need for defibrillation is lower than in adults, but cardiac arrest that requires a defibrillator (ventricular fibrillation) accounts for about 10–15%. When using a defibrillator in children, it is preferable to use pediatric pads or, if energy adjustment is possible, to adjust the energy level. However, if these are not available, the defibrillator can be used with the same pads and the same energy as for adults.
Sequence of Use
- Check for responsiveness
Before approaching the patient, the rescuer should first check whether the scene is safe. If it is safe, approach the patient, lightly tap the shoulder, and ask, “Are you okay?” If the patient responds but still needs medical attention, call 119, then continue to check the patient’s condition frequently and follow the instructions of the emergency medical dispatcher.
- Call 119
If the patient does not respond, call 119 immediately. If the caller has experience with defibrillator training and there is a defibrillator nearby, bring it immediately and use it, then begin CPR according to the following steps. If there are two or more people at the scene, one person should start CPR while another simultaneously takes responsibility for calling 119 and bringing the defibrillator.
- Check breathing and pulse
The revision made in the 2015 Korean CPR guidelines is checking breathing after calling 119. Rather than checking breathing while confirming that the cardiac arrest patient is responsive, the guideline was changed so that breathing is checked after responsiveness is assessed and 119 is called. This change was made because the process of checking breathing is very difficult, and especially when agonal breathing is present, recognition of the cardiac arrest situation is delayed, which delays the start of chest compressions. Agonal breathing commonly appears during the first few minutes in a cardiac arrest patient, and it often looks like infrequent breathing with deep breaths that resemble yawning. If these signs of agonal breathing are missed, the patient’s chance of survival decreases, so the caller checks with the help of the 119 emergency medical telephone dispatcher.
- Chest compressions
The first thing to do after requesting help is chest compressions, and effective chest compressions are essential for delivering sufficient blood flow to the heart and brain during CPR.
First, place the heel of one hand on the lower half of the sternum, the center of the chest, and place the other hand on top, interlocking the fingers. Keep the rescuer’s elbows straight and position the patient’s chest and the rescuer’s arms perpendicular so that the rescuer’s body weight is applied. To perform effective chest compressions, press firmly, rhythmically, and quickly. In adult cardiac arrest, the rate of chest compressions should be at least 100 per minute but not more than 120 per minute, and the compression depth should be about 5 cm and should not exceed 6 cm. Also, after each compression, allow enough chest recoil so that blood can adequately refill the heart for the next compression.
In children and infants, because their body size differs from adults, chest compressions are performed using one hand or with two fingers.
- Recommendation for hands-only CPR for lay rescuers
Hands-only CPR is a method of performing only chest compressions without rescue breaths during CPR. In the early stage of cardiac arrest witnessed by a layperson, there is no difference in survival between hands-only CPR and CPR with rescue breaths and chest compressions, and it is known that chest compressions alone can improve survival compared with not performing CPR at all.
- Open the airway
In addition to hands-only CPR, a rescuer who is willing to perform rescue breathing can learn and carry out the following airway-opening and rescue-breathing techniques.
- Head tilt - chin lift method
In an unconscious patient, the tongue may fall back and block the airway, so the head should be tilted back and the chin lifted to open the airway. This is done by placing one hand on the patient’s forehead and applying pressure with the palm to tilt the head back, while using the fingers of the other hand to lift the jaw by pulling the bony part of the lower jaw toward the head. Be careful not to press deeply on the soft tissue under the chin, because that can instead block the airway.
- Jaw-thrust method
In accident patients who are likely to have already suffered a cervical spine fracture, the head should not be tilted back in order not to increase the injury; only the jaw should be gently lifted to open the airway. However, this airway-opening method is intended for medically trained professionals and is not recommended for lay rescuers.
- Rescue breathing
Rescue breathing is also one of the important elements of CPR, and rescuers who are confident in performing rescue breathing should do so. First, with the airway opened, give 2 rescue breaths. The most commonly used method is mouth-to-mouth rescue breathing, as follows.
With the airway opened by the “head tilt - chin lift” method, open the patient’s mouth. Using the thumb and index finger of the hand that is tilting the head back, pinch the patient’s nose shut, and seal your mouth over the patient’s mouth. In infants, the rescuer’s mouth can also cover both the child’s mouth and nose at the same time. Watching the patient’s chest with one eye, slowly (for 1–2 seconds) blow in enough air for the chest to rise. Remove your mouth and allow the air blown into the patient’s mouth to be exhaled again. Give one more rescue breath in the same way.
The most common cause of failed rescue breathing is attempting it without the airway being properly opened. If the first rescue breath does not make the patient’s chest rise, try the second breath only after correctly repeating the head tilt - chin lift.
- Repetition of chest compressions and rescue breathing
Continue CPR in a ratio of “30 chest compressions : 2 rescue breaths” until the 119 rescue team or professional rescuer arrives. If you know how to use a defibrillator and the defibrillator arrives at the scene before the 119 rescue team or professional rescuer, use it immediately.
So far, I have explained how to use an automated external defibrillator and the sequence of use.
In the next part, we will look at the treatment of airway obstruction caused by foreign bodies.
Source: Korea Disease Control and Prevention Agency National Health Information Portal