


Previous image
Next image


- Understanding How Clear Aligners Work and the System
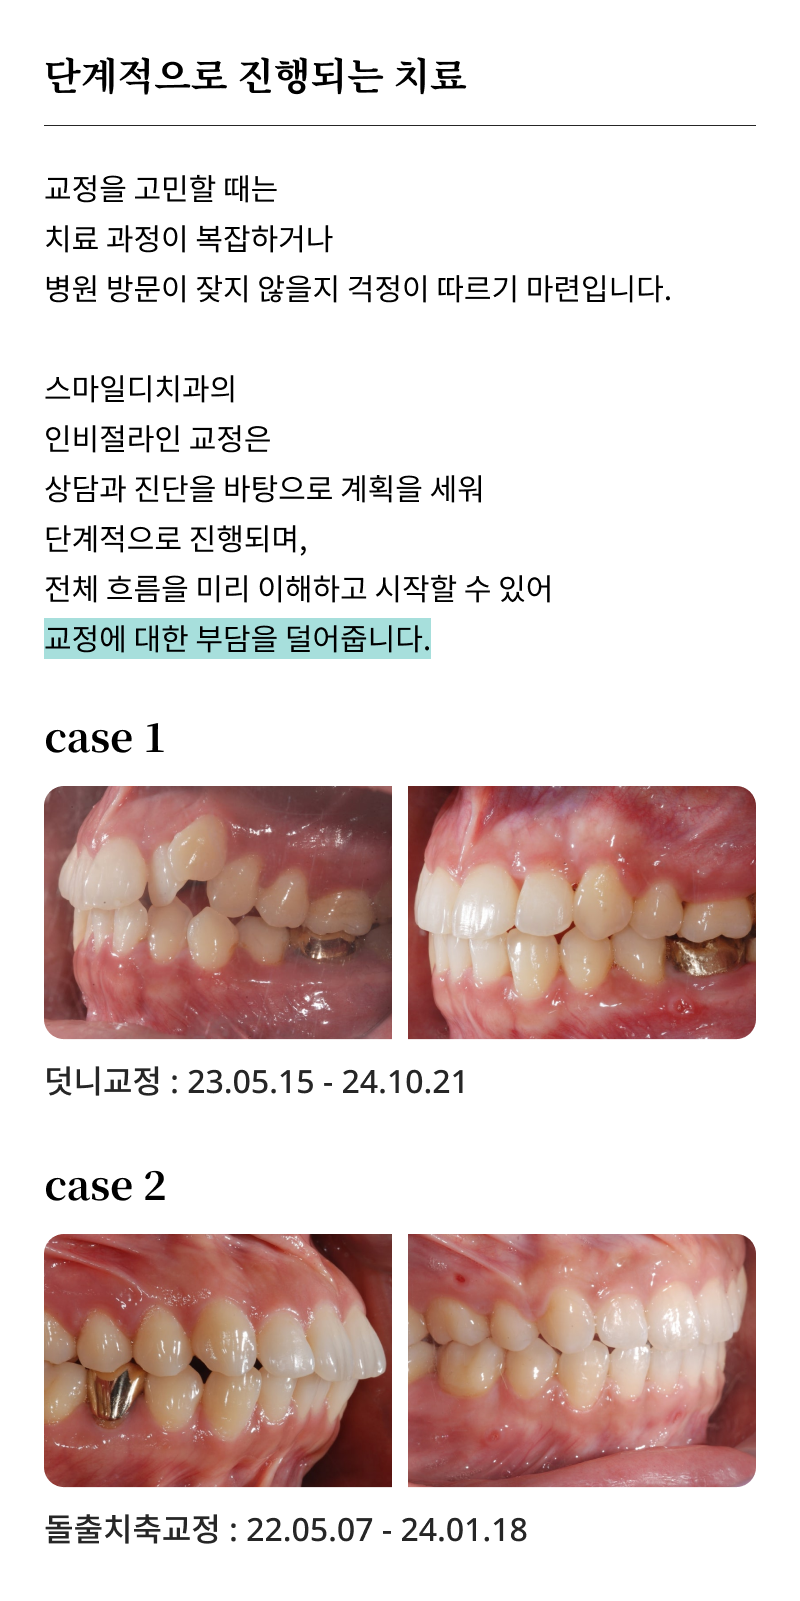
For those who care about oral health, understanding this was a very meaningful process. These aesthetic correction devices, which help move the teeth, had characteristics quite different from conventional metal appliances. They were made of a highly transparent special material, helping reduce the mental 부담 of other people's gaze. They followed a principle of being customized by precisely replicating each person's oral structure. Efforts to narrow the margin of error were made through detailed diagnosis by medical staff and collaboration with digital equipment. Many modern people chose this system because they wanted to maintain a natural look even during social activities. It was not focused only on aesthetic improvement; it also aimed to improve chewing efficiency. The key was the technology that increased convenience in daily life while guiding the permanent teeth toward the intended position. It worked by replacing the appliance with a new one at each planned stage to produce gradual changes. This process was a factor that gave visitors to the clinic a high level of trust and reassurance.


- Preparation Process and Rules for Using Clear Aligners
To improve the bite smoothly, it was necessary to strictly follow the rules. Before wearing the appliance, cleansing the mouth by removing any foreign material had to come first. If even tiny residue remained, there was a risk that it could decay between the aligner and the tooth surface. This could then become a cause of gum inflammation or cavities, interfering with the overall schedule. The product was carefully opened with cleaned hands, and the next step was to check whether it was damaged. Only after proper hygiene was secured was it correct to attempt insertion. If too much force was applied in a hurry, there was a possibility that the shape of the precise appliance could be distorted. It was also important to compare the numbered stages and check whether the appliance matched the current sequence. The calm attitude of carefully following the initial instructions received in the consultation room stood out. A careful approach became the foundation for greater stability in the results and led to a positive course.


- Learning the Step-by-Step Use of Clear Aligners in Detail
At the full insertion stage, the appliance was effective only when precise procedures were followed. After distinguishing between the upper and lower aligners and positioning them, gentle pressure was applied starting near the canine teeth. The work involved evenly distributing fingertip pressure so that no gaps remained. Careful attention had to be paid until it felt completely fixed even at the molars. At this time, any space between the teeth and the appliance acted as a major obstacle that reduced movement efficiency. Using auxiliary tools such as chewies to increase the seating force was also recommended. It was a supplemental measure that helped the aligner settle deeply into the dentition through chewing motion. Accurate fitting had a decisive effect on minimizing discomfort and reaching the target values. Incorrect positioning could place excessive stress on periodontal tissue, so it had to be avoided. Over time, one learned to trust the advice of experienced medical staff while becoming familiar with one's own sense.

[Want to explore more of Smile:D?]
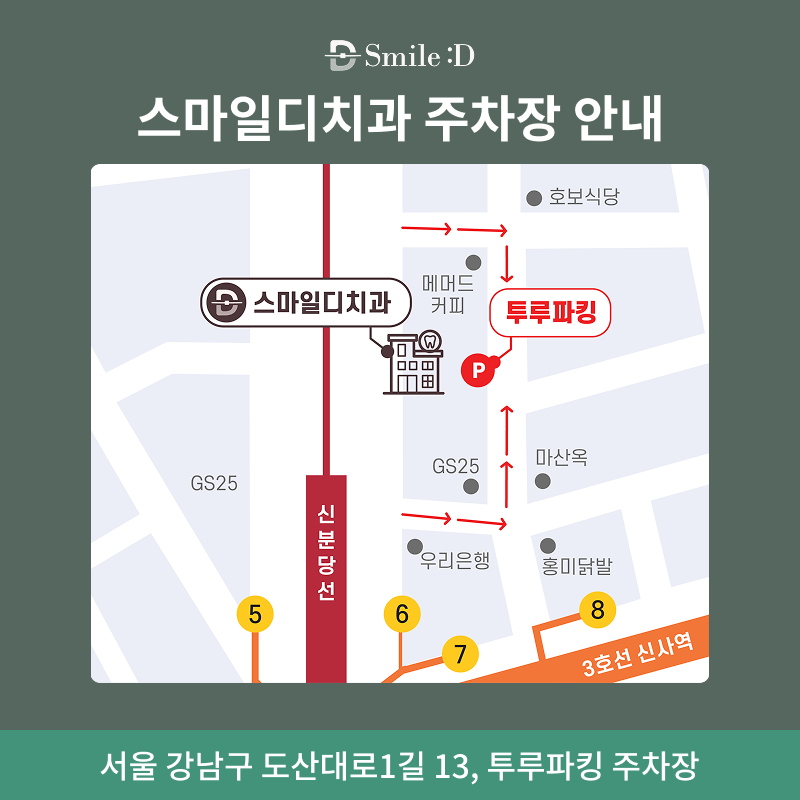
[Smile:D location and parking guide]
- Cleaning Care and Guidelines
In daily care, hygienic handling was a very important part of how to use clear aligners. When eating, the rule was always to remove the appliance and store it in a dedicated case. Drinking beverages containing sugar while wearing it could cause staining and changes in acidity. For the removed appliance, a cleansing process using running cold water to wash away saliva from the surface was essential. If exposed to high heat, the plastic material could change in properties and become misshapen. It was necessary to choose a dedicated cleaner or a non-abrasive cleaning solution and gently brush it with a soft brush. Strong friction often reduced transparency, resulting in compromised aesthetic function. Even when drying, it was left to air-dry naturally in a well-ventilated shaded place away from direct sunlight. A clean aligner helped suppress bacterial growth in the mouth and created a healthy environment. Such care became the driving force that helped complete the long journey.


- Daily Schedule Related to How to Use Clear Aligners
The key to the roadmap for success was securing enough wearing time. A strict standard was presented: the appliance should be worn for at least 20 hours out of 24 each day. Bone changes occurred only when pressure was continuously applied not only during sleep but also during conversation. If wear was neglected due to a moment of carelessness, the shifted teeth would try to return to their original position. To prevent this, many people recorded insertion and removal times in their personal schedules to motivate themselves. They also always carried a case when going out, showing thoroughness in preparing for risks such as loss or damage. One must be careful not to wrap it in tissue and accidentally throw it away as trash. The replacement cycle was marked on the calendar so the process could continue to the next stage without delay. A regular lifestyle became the strongest tool for maximizing the correction effect. A daily routine supported by diligence was recognized as the quickest shortcut to a beautiful smile.

- Regular Checkups and Final Review of Clear Aligner Use
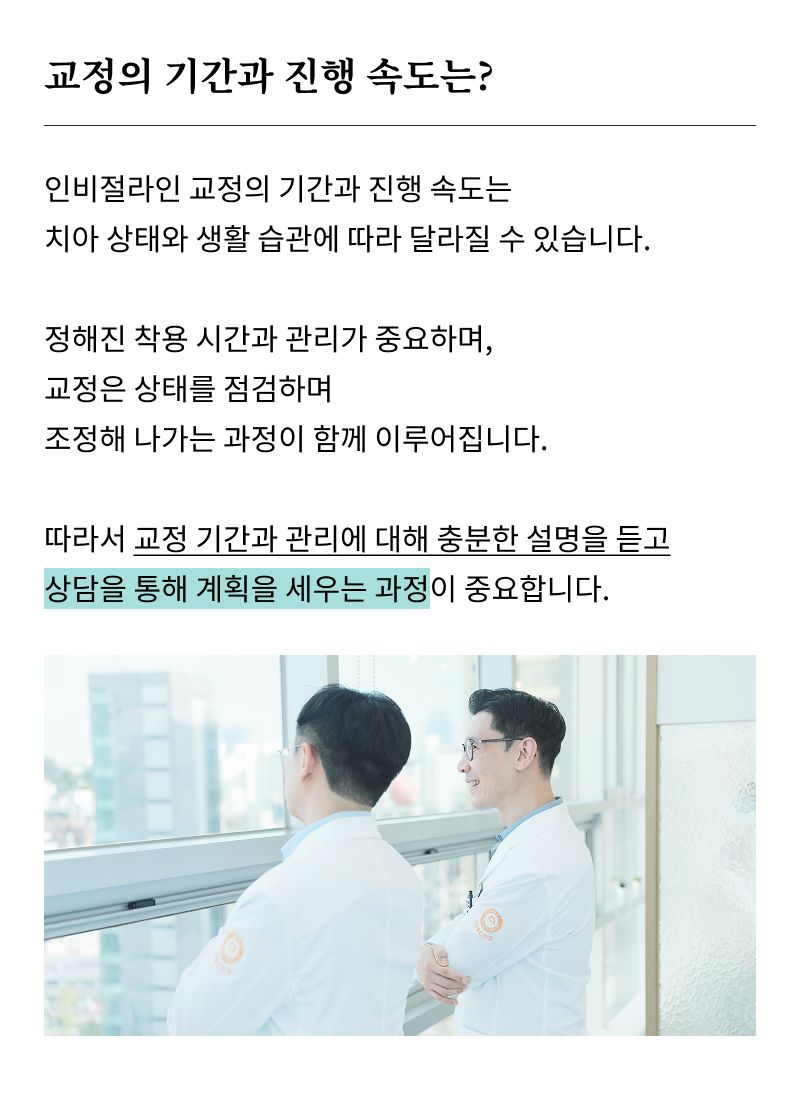
Finally, a visit to the medical institution remained to conduct a final check of compliance. Regular visits were an essential step to confirm whether skeletal changes were taking place along the planned path. Small movements that were hard to detect with the naked eye were compared using digital analysis equipment, and supplementary measures were developed. If necessary, the space between teeth was finely adjusted to secure a pathway for movement. Close communication with the medical staff was a valuable channel for immediately resolving unexpected discomfort. It was a process of optimizing the future schedule by combining the patient's cooperation level and biological response. Rather than vague expectations, progress was made step by step while trusting data based on scientific evidence. Even after all procedures were completed, the importance of aftercare to preserve the results through a retainer was emphasized. With a trustworthy partner, even a long journey would be remembered as a worthwhile investment. Efforts toward healthy occlusion and a harmonious facial line came to fruition here.


Previous image
Next image


Previous image
Next image