Many of the people who came to the Myeongdong Dental Clinic asked, “Doctor, I was told I have a cavity, but it doesn’t hurt. Do I really need treatment?”
In fact, many adult patients did not notice any discomfort in the early stages of cavities, and in some cases treatment was delayed until it progressed to the point of needing a root canal. Today, I’ll share the information we explained clearly, from the stages of cavity progression to when root canal treatment is needed, and how to care for teeth after treatment.
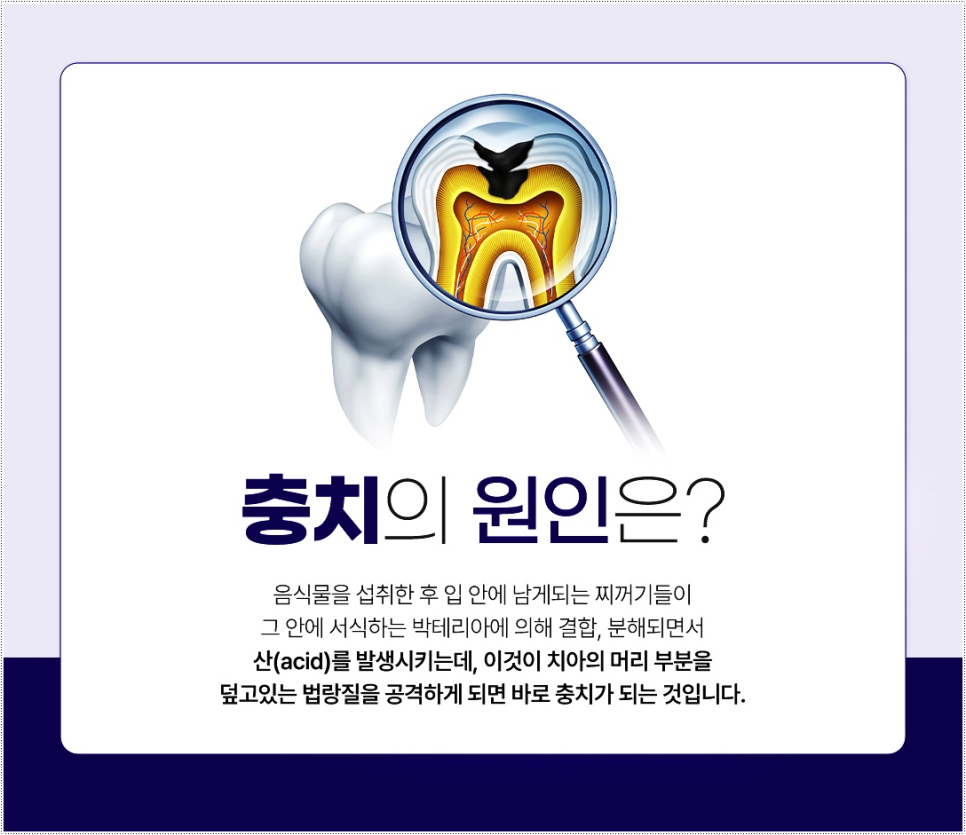
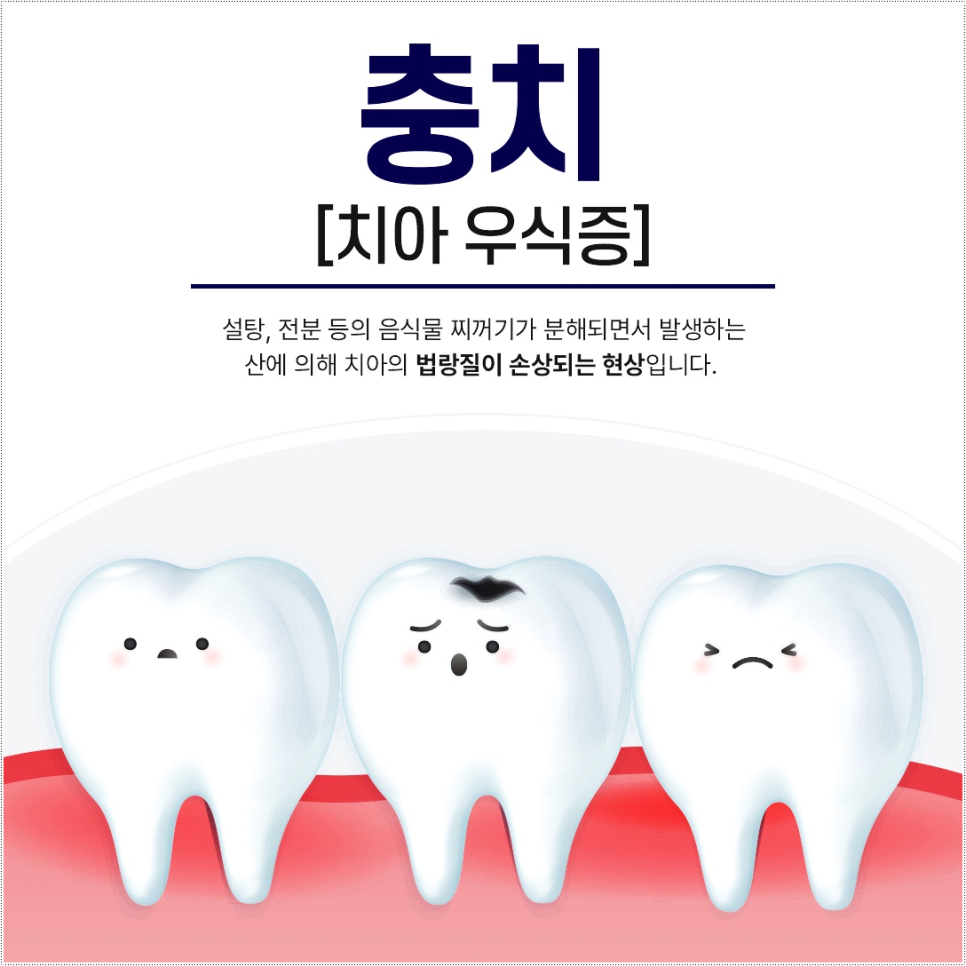
Why do cavities develop?
Cavities usually begin when acids formed by food debris left in the mouth combining with bacteria erode the tooth’s enamel surface.
In particular, frequently eating sweets or foods high in sugar increased the risk of cavities. Irregular brushing habits and neglecting to brush after late-night snacks were also causes.
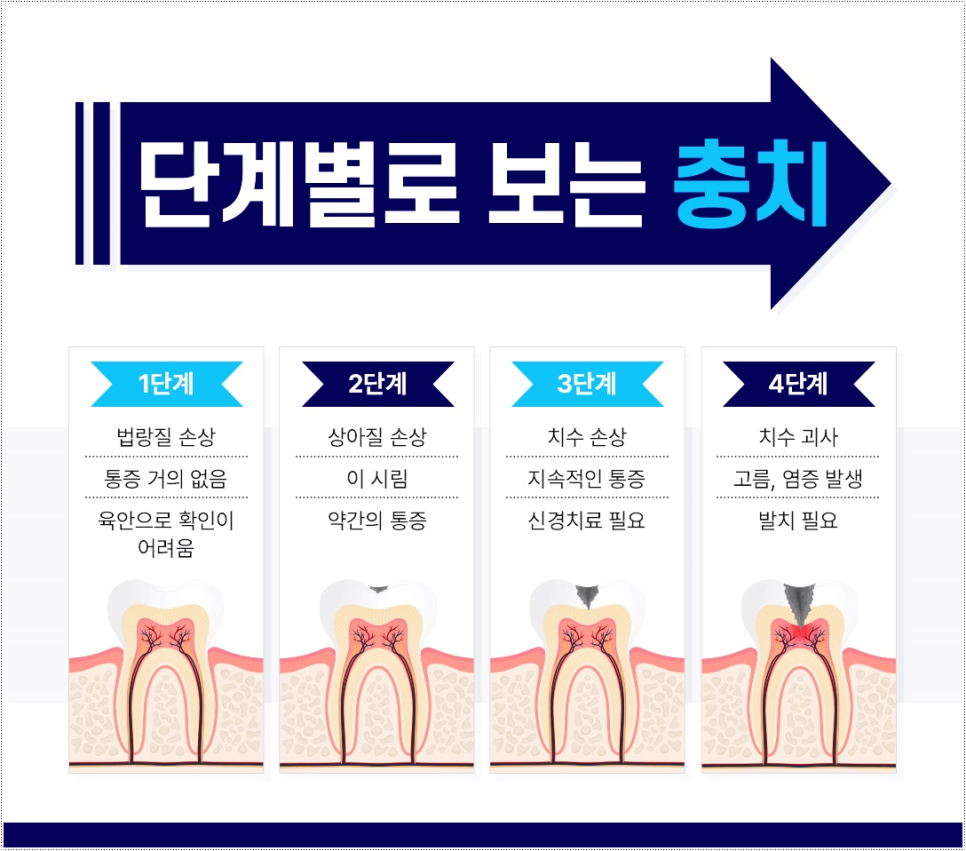
Stages and symptoms of cavities
Cavities were divided into stages from level 1 to level 4 depending on how far they had progressed:
- Level 1 cavity (enamel cavity):
Only the outermost layer of the tooth, the enamel, was damaged.
At this stage, there was no pain, and only white or brown spots were visible.
- Level 2 cavity (dentin cavity):
This was when the cavity had spread to the dentin, the layer beneath the enamel.
People often felt sensitivity to cold or sweet foods.
- Level 3 cavity (pre-pulpitis stage):
The cavity had progressed close to the nerve.
There was pain with hot or cold foods and when chewing, and throbbing could occur even without any stimulus.
- Level 4 cavity (pulpitis):
The nerve (pulp) inside the tooth was damaged.
Severe pain persisted, and this was the point at which root canal treatment was needed.
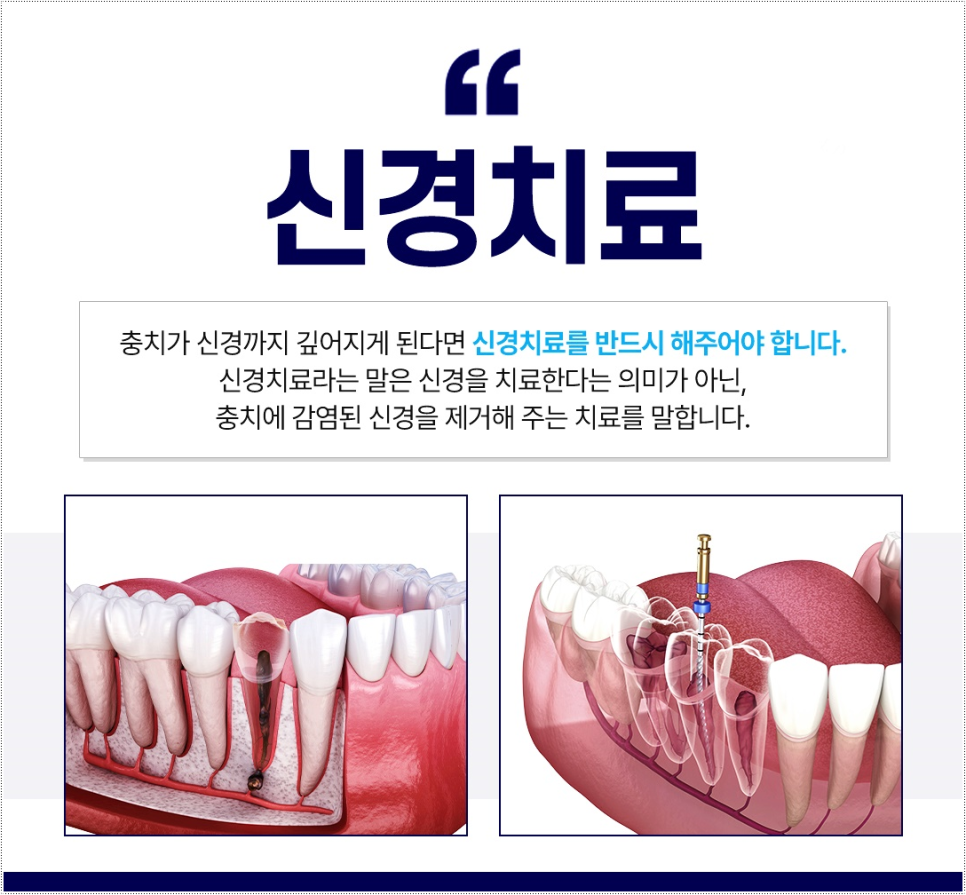
When was root canal treatment needed?
Root canal treatment was performed when the nerve inside the tooth was damaged by inflammation or necrosis. At this point, recovery with ordinary cavity treatment was difficult, so the damaged nerve had to be removed, the inside of the tooth disinfected, and then filled. Many people hesitated because they were worried that “root canal treatment would hurt,” but in reality it was performed after anesthesia, so there was almost no pain.

How was root canal treatment performed?
- X-ray imaging
Imaging was done first to accurately identify the extent of the damage.
- Removal of the damaged area after anesthesia
After anesthesia to prevent pain, the cavity-damaged part and the nerve tissue were removed.
- Disinfection of the root canal (nerve passage)
The inside of the tooth was thoroughly disinfected to prevent reinfection.
- Filling with medication and temporary or final restoration
After disinfection, the space was filled with medication, and the treatment was finished with a restoration such as a crown.
This process was often carried out over 2 to 3 visits.
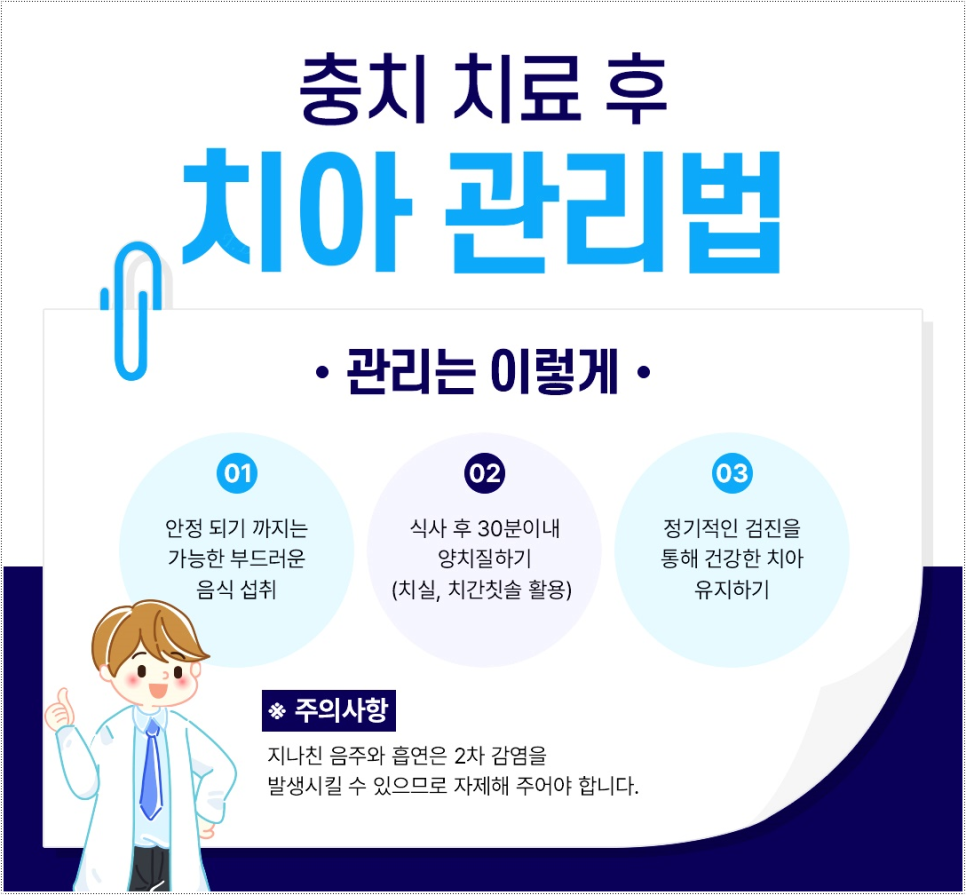
After root canal treatment, it is best to care for it this way.
-
Since the tooth was weak during treatment, it was best to avoid hard foods.
-
It is best to be careful not to chew on the treated area.
-
Maintaining oral hygiene with dental floss or mouthwash was also important.
A tooth that has completed root canal treatment no longer has a nerve, so pain is not felt, but because it is at higher risk of breaking or chipping, regular checkups are essential.
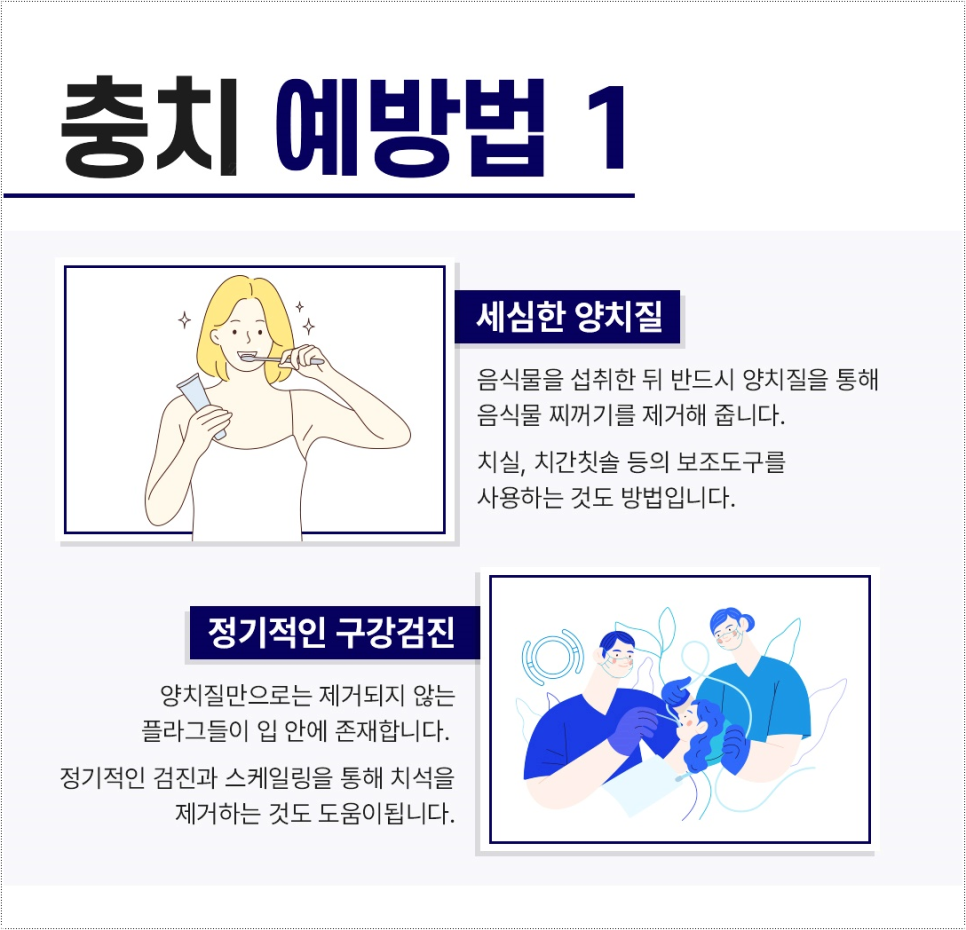
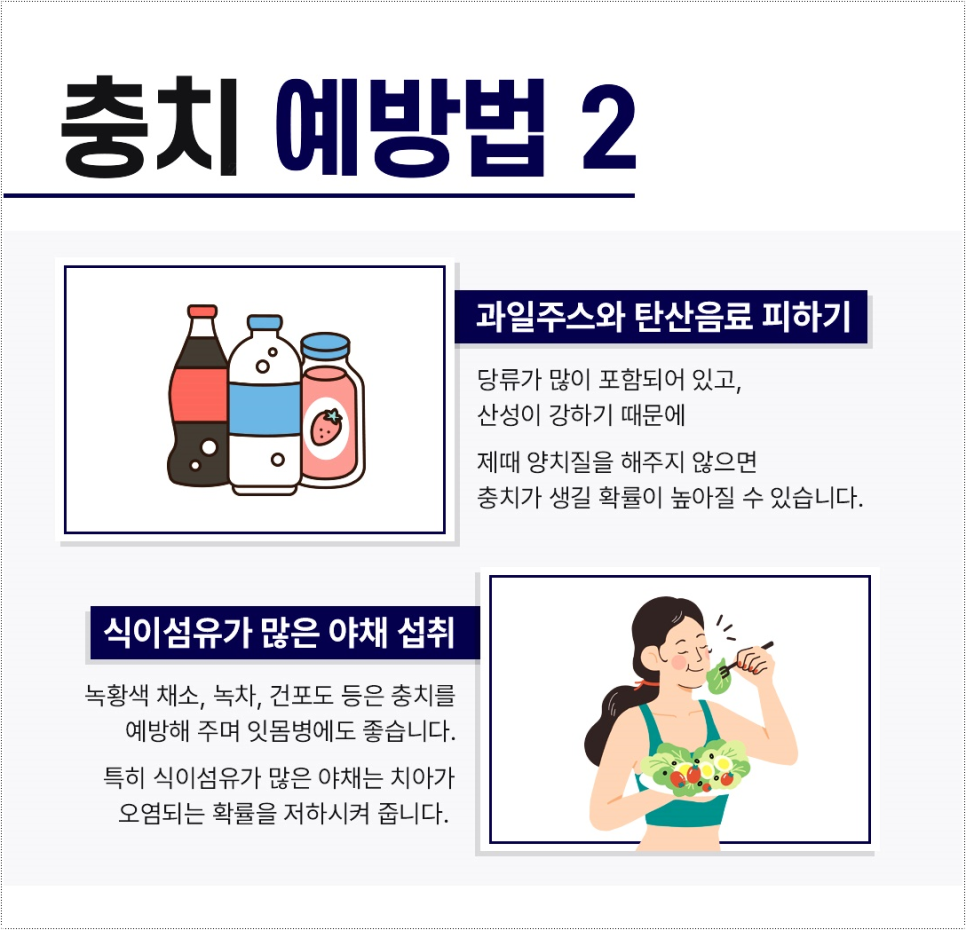
Preventing cavities in everyday life
-
It is important to build the habit of brushing within 3 minutes after meals.
-
Brushing thoroughly 2 to 3 times a day, along with dental floss or a Waterpik, was also helpful.
-
It is recommended to reduce the habit of snacking or drinking beverages too often.
-
Regular checkups once every 6 months made early detection and prevention possible.
Cavities were easy to overlook because they often had no noticeable symptoms in the early stages, but once they progressed they could ultimately lead to root canal treatment, which is why early detection and prompt treatment were most important. This was why many people who visited the Myeongdong Dental Clinic said, “If I had known earlier, it could have been finished much more simply.”
Please remember that with only regular checkups and proper tooth care habits, you can maintain healthy teeth for a long time. Thank you!


