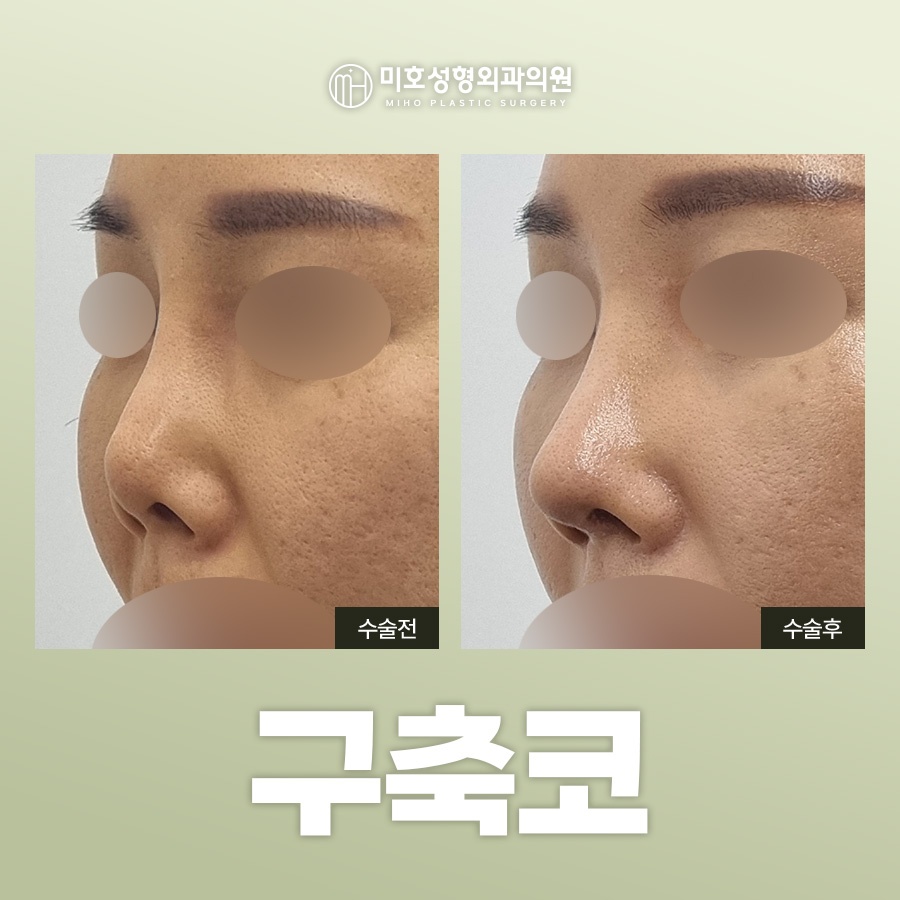
Many people said that after improving the shape of their nose,
the skin tissue seemed to have
become harder and the tip of the nose
felt as though it was being pulled.
They thought it was only a temporary
phenomenon that appeared during recovery,
but as time passed, the symptoms
gradually worsened, making them worry
that a problem had developed.
Although the nose looked normal on the outside,
if there was a feeling of tightness from within
along with visible changes in appearance,
a contracted nose could be suspected.
Since these symptoms could not only deform the shape of the nose
but also cause functional problems,
it was necessary to establish a thorough plan for improvement.
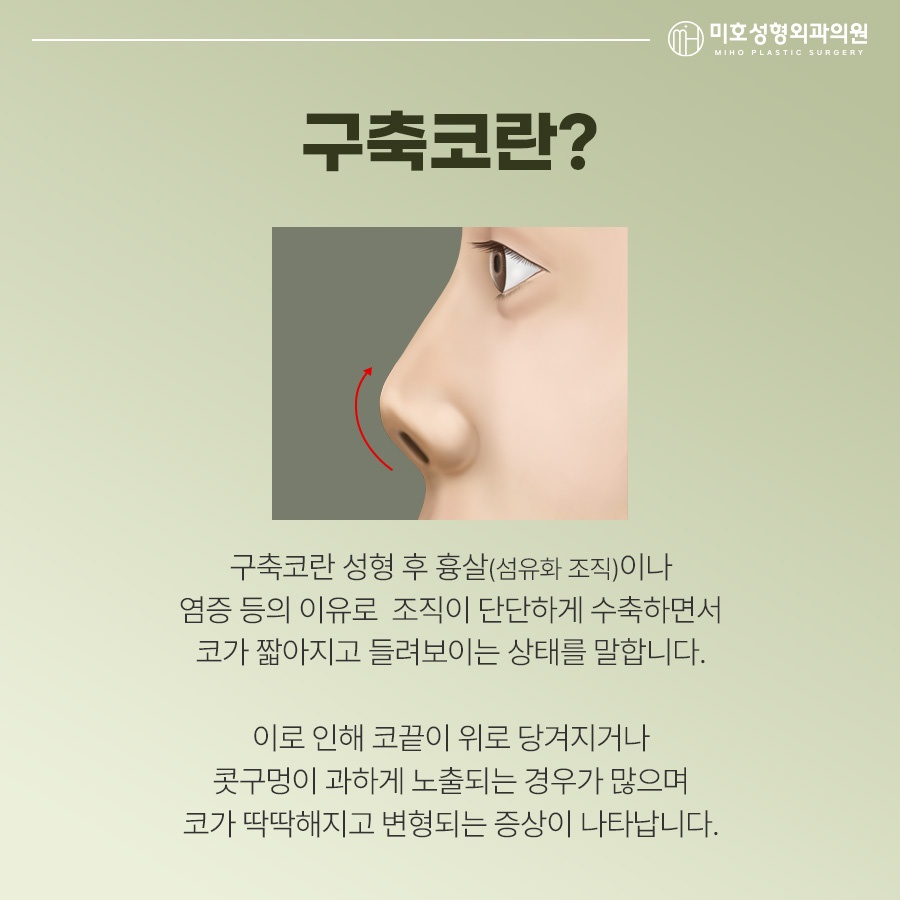
A contracted nose was one of the side effects
that could occur after a surgical procedure.
It referred to a condition in which an excessive immune response developed
around an implant or cartilage inserted into the body,
forming a capsule and pulling on the nearby skin tissue as well.
It occurred mainly when artificial implants
such as silicone were used.
Although this was the body's natural immune response
to protect itself from a foreign substance,
it could cause firm scar tissue to form
around the bridge or tip of the nose,
resulting in deformation.
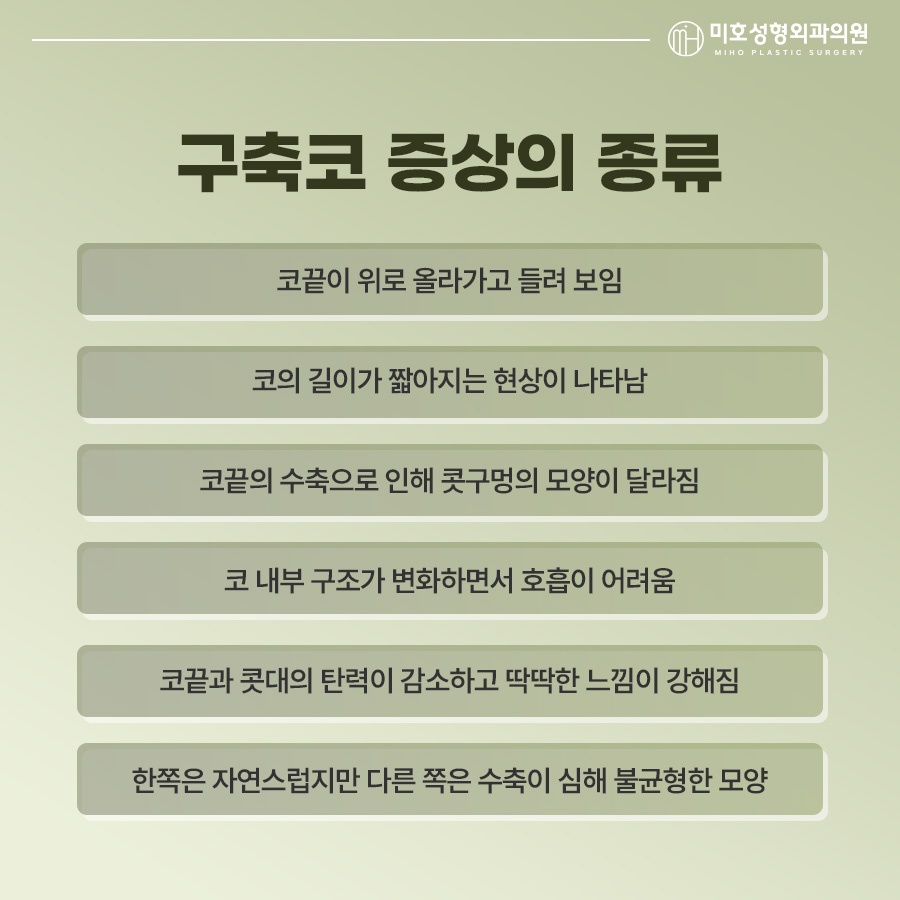
If the bridge of the nose became crooked
or the vertical length of the nose shortened,
causing the nostrils to be visible from the front,
a contracted nose could be suspected.
Although inflammation or pain could accompany it,
there were also many cases in which it progressed without symptoms,
causing people to miss the optimal time for treatment
without recognizing the abnormal signs.
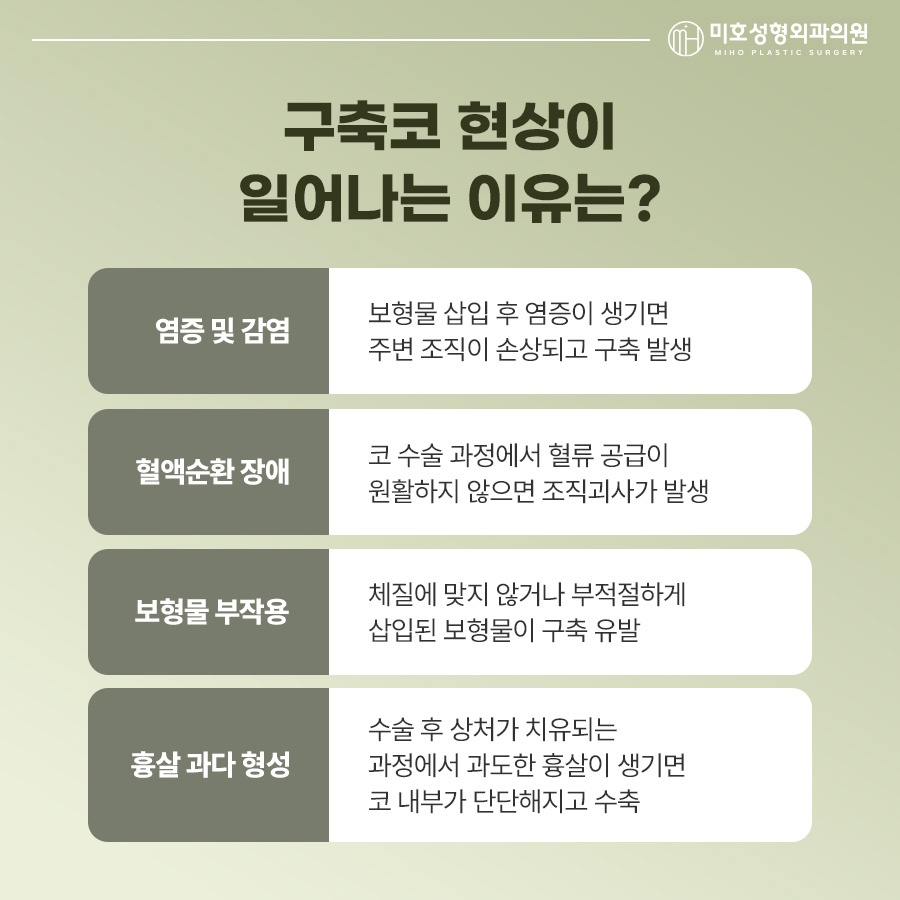
There were more reasons for this phenomenon
than one might expect.
As infection and immune responses repeatedly occurred in the body,
inflammatory tissue accumulated around the implant
and became fibrotic,
which led to contraction.
Problems could also arise
when an implant of an unsuitable size was used.
When an implant larger than the range
that the body's tissues could accommodate was used,
the cartilage and skin layers could be continuously compressed,
causing inflammation and allowing the capsule
to become thickened.
The procedure itself may have gone smoothly,
but problems during recovery could also
lead to contraction.
Infection caused by contamination of the incision site,
as well as inappropriate pressure or impact,
could trigger complications.
Although there might be no noticeable changes at the time
and one might think everything was fine,
these effects could accumulate and eventually cause side effects.
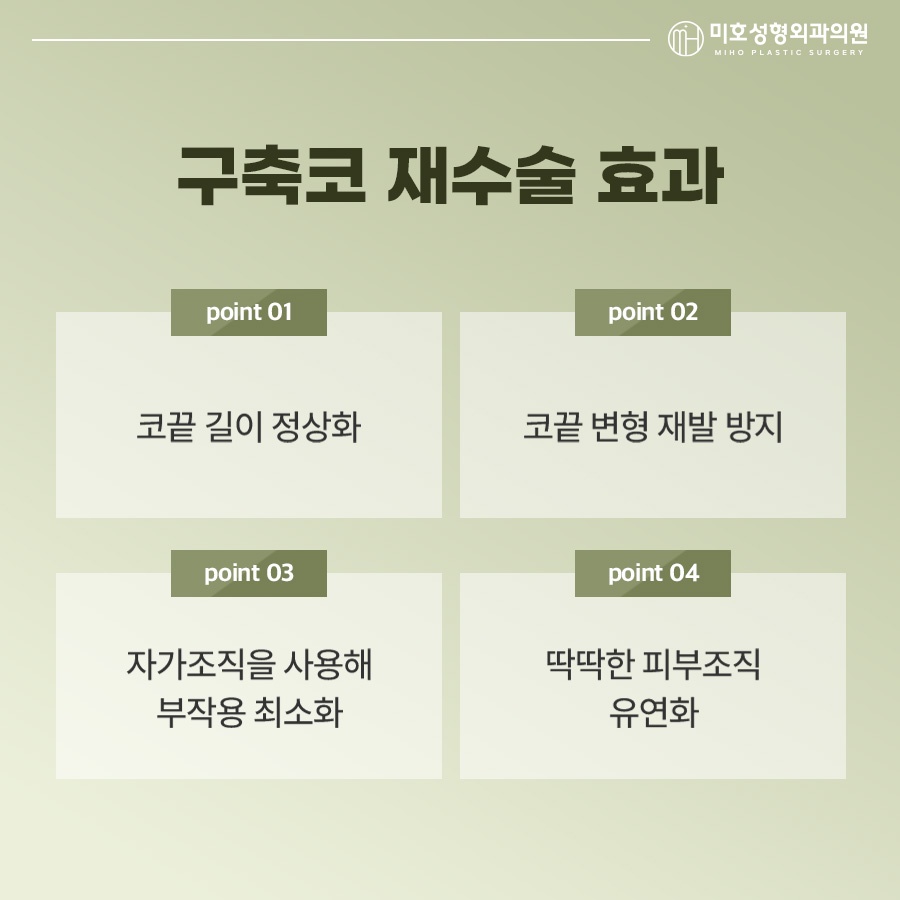
Improving a contracted nose was not aimed solely
at restoring its appearance.
Because the changes in appearance were often accompanied
by functional damage,
it required a much higher level of expertise
than the initial procedure.
Since chemical changes had already occurred,
the approach had to be planned from multiple perspectives,
including the design, material selection,
the method of applying the procedure,
and the subsequent stages of recovery.
Even when the symptoms were the same,
their pattern and severity differed from person to person,
so an individualized plan had to be developed.
One thing they had in common was
that the implant had to be removed first.
Since the implant was the source of all the problems,
removing it was the most urgent step.
After that, the approach differed
depending on the tissue condition and the internal structure of the nose.
Because the external changes could be severe,
it was understandable to want reconstruction as soon as possible.
However, handling damaged tissue prematurely
could cause greater side effects, such as adhesions,
so the implant first had to be removed,
followed by a waiting period to allow the skin
to recover sufficiently.
The time required for this was
three to four months, and in some cases up to one year.
Once the tissue was considered sufficiently stabilized,
full-scale reconstruction of the contracted nose
could begin.
Because the person had previously experienced side effects
from artificial materials,
it was preferable at this stage to use autologous tissue.
Since it came from the person's own body,
the likelihood of an immune response was lower.
Cartilage from the ribs or ears could be used
to create a supporting structure,
while carefully releasing the hardened scar tissue
and extending the vertical length of the nose
back to its original proportions.
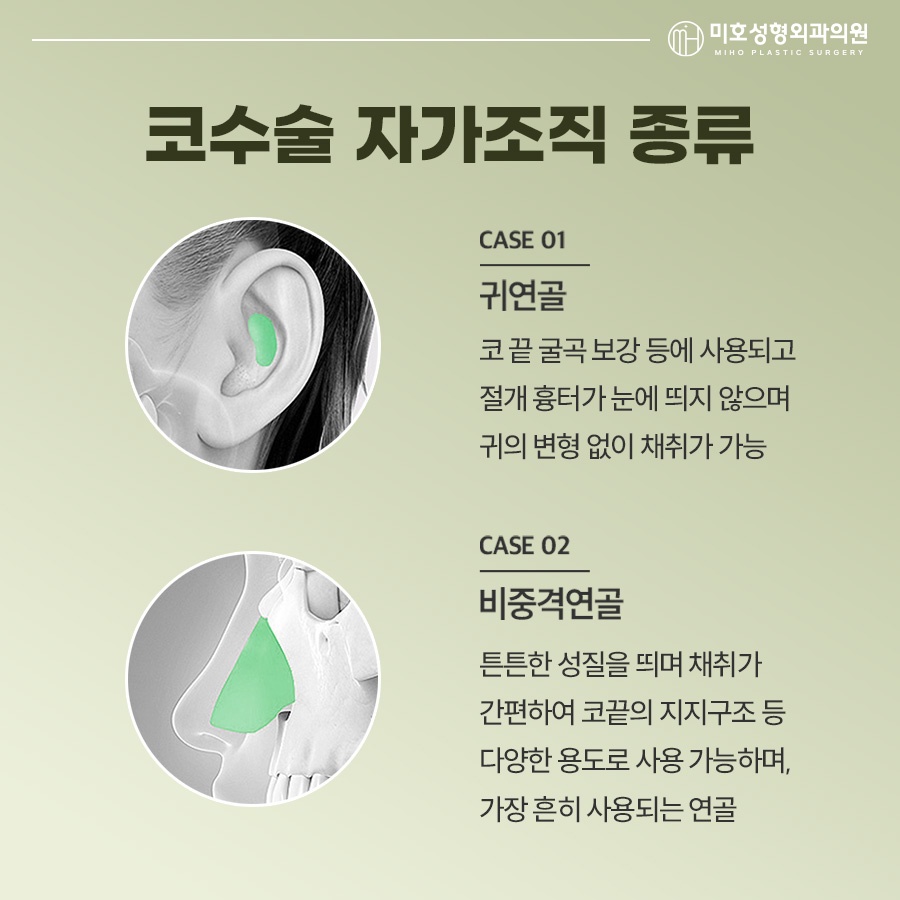
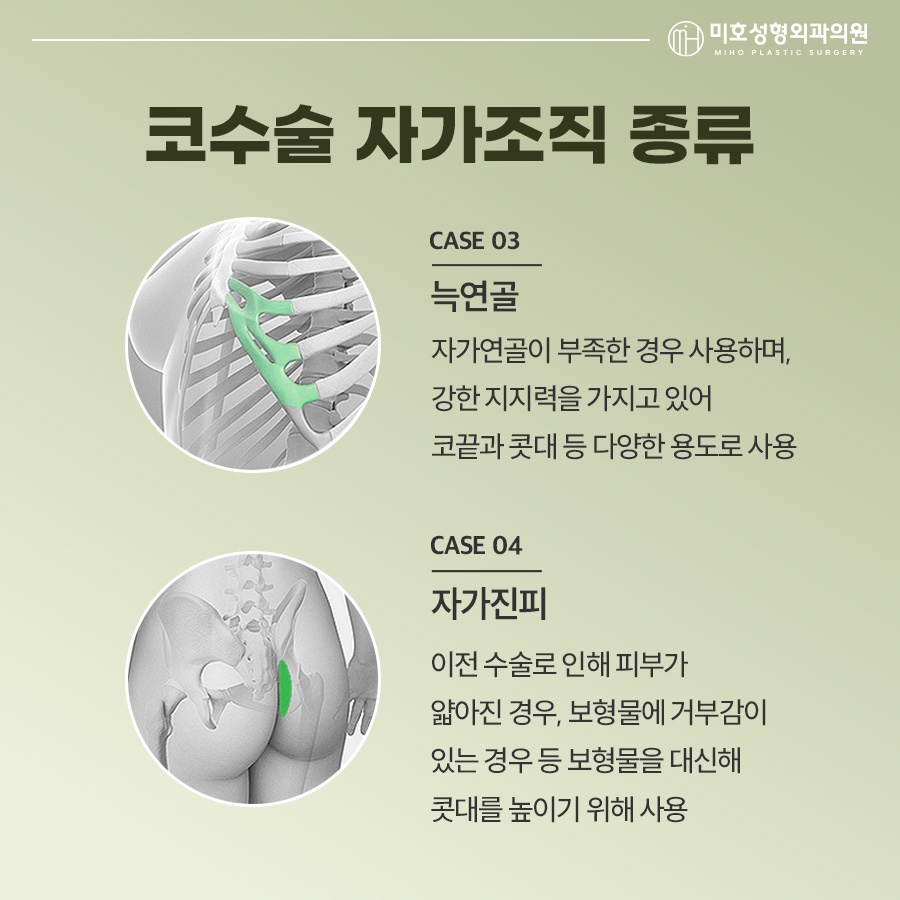
There were several types of autologous tissue,
but costal cartilage from the rib area
was used most often for reconstruction.
Ear and septal cartilage had relatively limited support,
and particularly in the case of septal cartilage,
there was often insufficient material because it had already
been absorbed or used up.
In contrast, costal cartilage was harvested from the ribs,
so it was available in greater quantity.
It was also the hardest among the autologous tissues,
allowing a strong supporting structure to be created.
This material was generally used
to build up the bridge of the nose,
but it could also be used to form the tip when necessary.
Although it had these advantages,
it could leave a scar at the harvest site,
and the procedure could take longer.
Unlike the initial procedure,
a revision procedure had to be carried out
according to a step-by-step plan that included recovery.
This was because the body had already experienced inflammation several times
and could respond more sensitively to external stimulation.
The key to recovery was early stabilization.
The implant needed to remain properly positioned
immediately after the procedure so that the subsequent stages
could proceed smoothly.
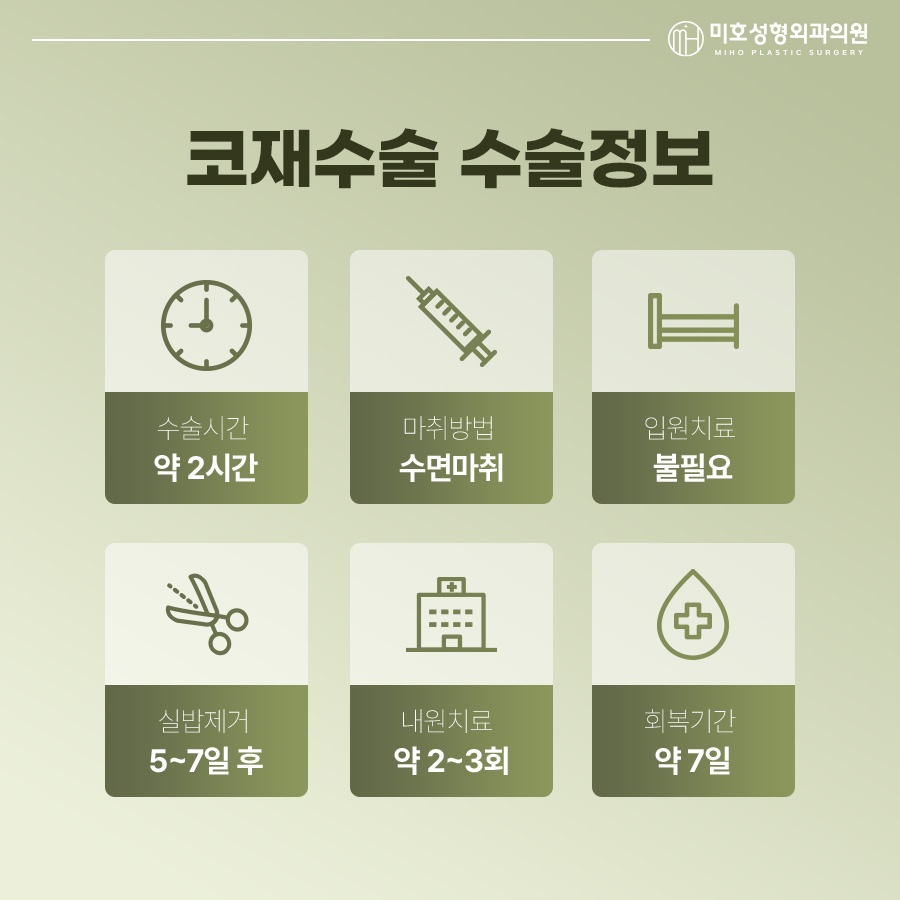
Depending on the situation,
follow-up visits were sometimes scheduled every two to three days
to monitor progress.
Until the tissue had stabilized,
sleeping face down and excessive pressure had to be avoided,
and the incision site had to be kept clean.
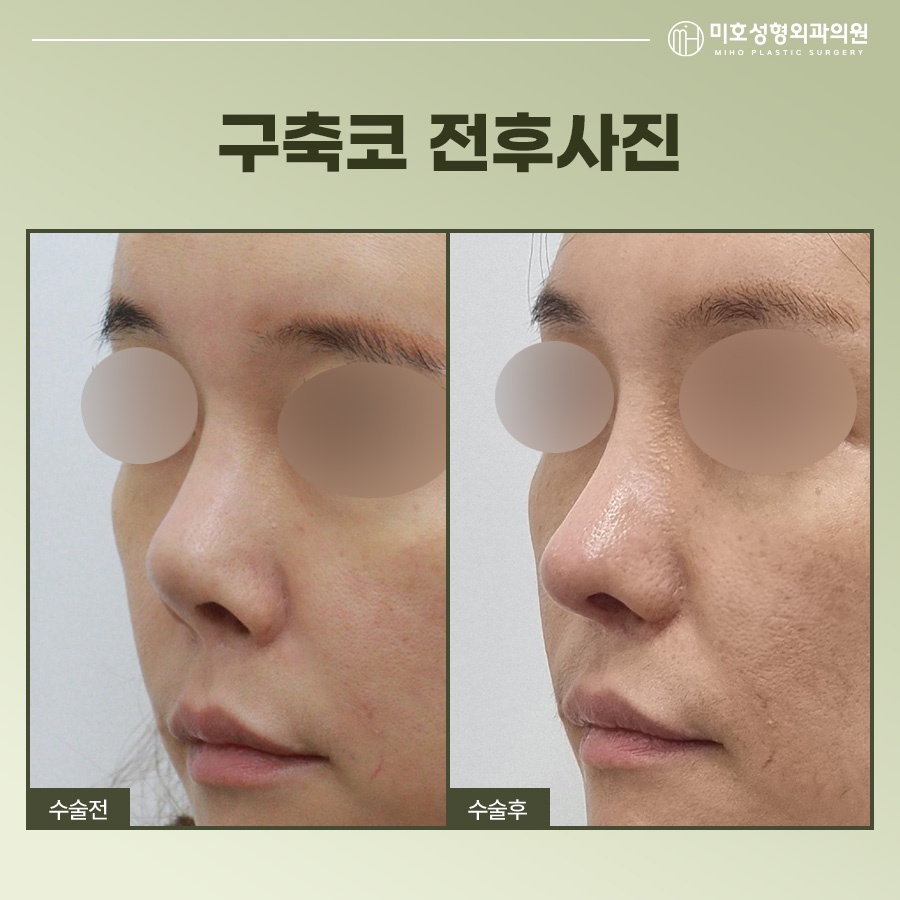
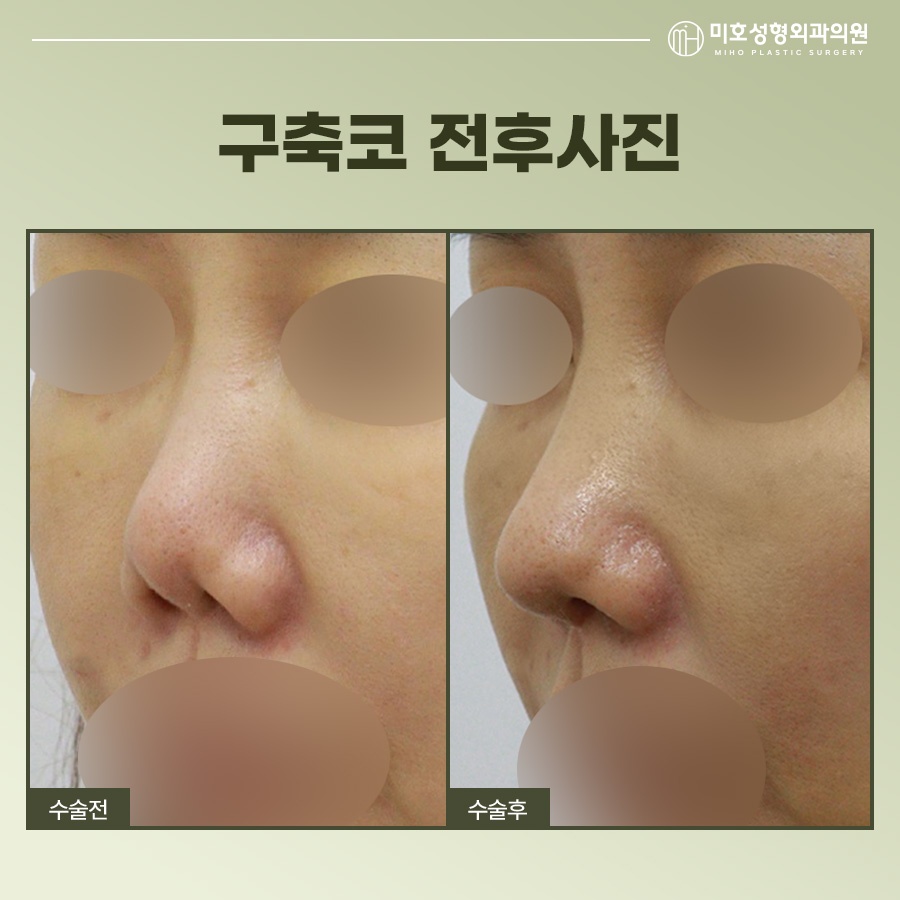
In this way,
a contracted nose was more difficult than the initial procedure
and required somewhat more careful aftercare.
Therefore, it was necessary to choose
the medical professional and institution carefully.
It was especially important to find a doctor
with extensive experience in revision procedures,
and to develop and apply an individualized plan
that considered design, stability,
and the restoration of function.
It was advisable to reconsider clinics
that recommended revision without taking tissue stabilization into account,
and to seek a medical professional
who would consider realistic alternatives together with you.
Through sufficient preliminary research and discussion,
it was hoped that you could return
to a natural appearance as before.


Previous image
Next image