Hello, this is Seoul Dia Dental Clinic in Magok-dong.
We’ve already reached Part 3 of the inlay series!
If you haven’t seen yesterday’s post yet?
That’s okay.
In Part 2, we compared the characteristics and prices of each inlay material.
If you’re still deciding, please refer to the link below.
The reason people feel anxious before dental treatment is largely because of the uncertainty of the process they don’t know.
“How many times do I have to go, and how painful will the anesthesia be?”
“Will it be just as difficult as getting a crown?”
Thoughts like these keep building up worry.
But inlay treatment is a prosthetic treatment with clear steps and is relatively simple.
Once you understand the process, you’ll probably think, ‘Oh, this is manageable.’
Now, let’s take a step-by-step look at the inlay prosthetic treatment process.
Inlay prosthetic treatment, this is how it goes!
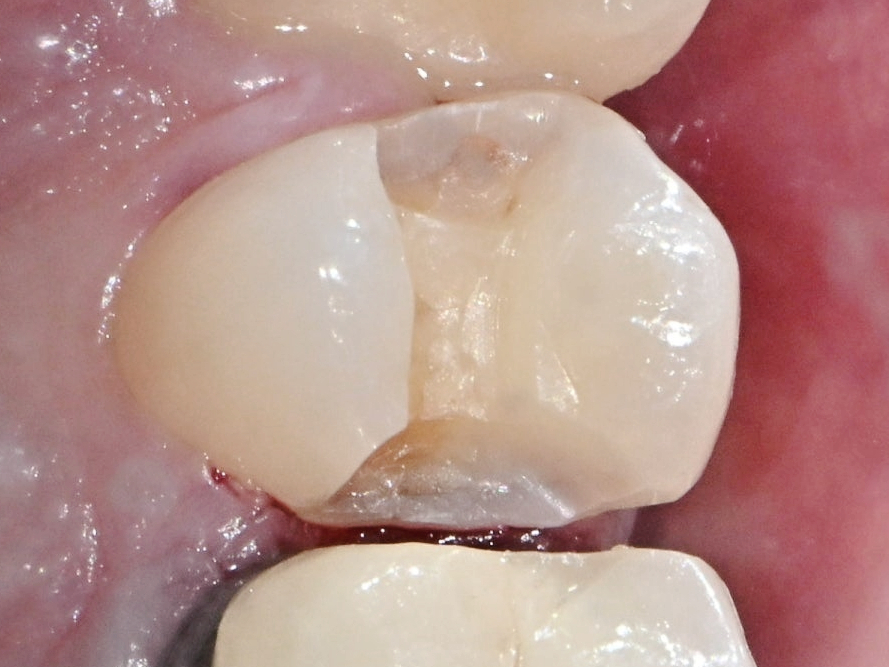
Step 1. Diagnosis and treatment planning
Magok-dong Dental Clinic_Diagnosis and planning
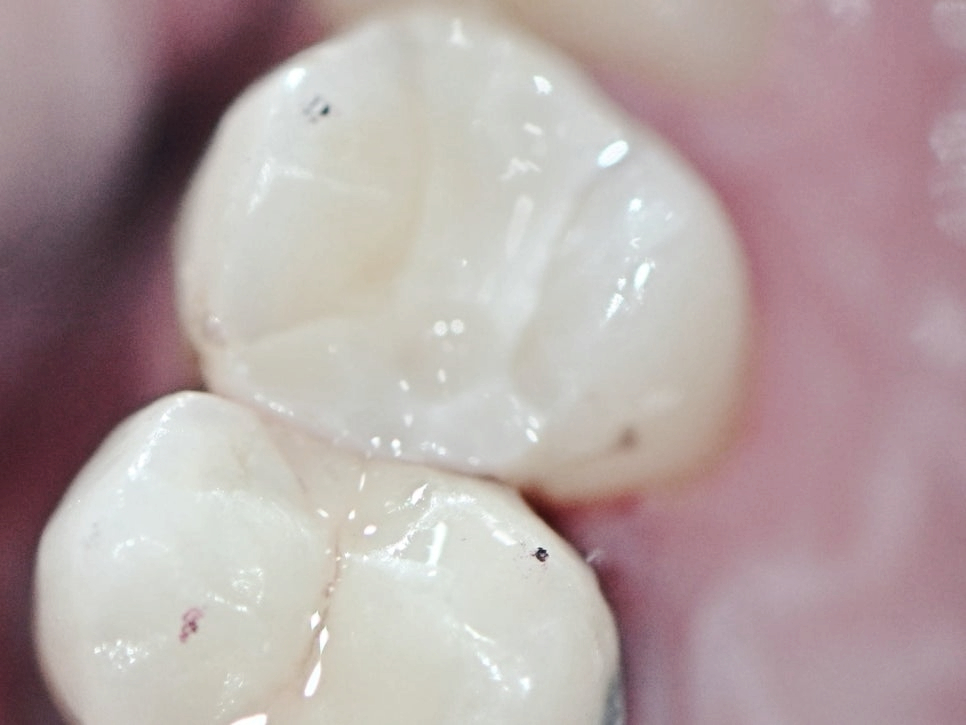
At the first visit, we first diagnose the extent, location, and progression of the cavity.
Using X-rays and intraoral photos,
we determine accurately whether resin treatment is possible or whether an inlay is needed.
If the cavity has progressed to the dentin,
or if it has spread widely across the chewing surface, an inlay treatment plan is made.
At this stage, the inlay material is also decided.
As explained in Part 2, a customized choice is made by considering the tooth’s location, budget, aesthetics, and more.
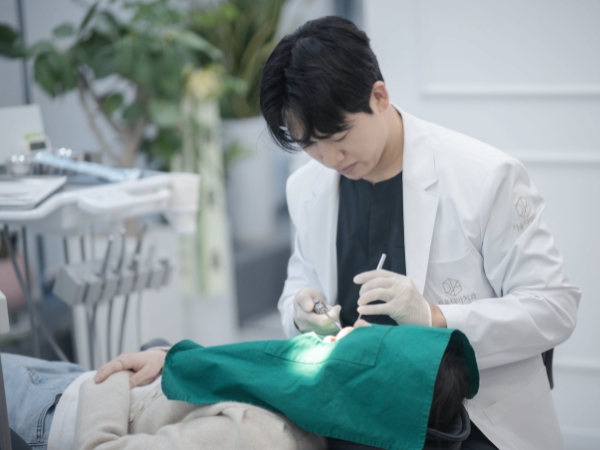
Step 2. Cavity removal & tooth shaping
Magok-dong Dental Clinic_Cavity removal
The actual treatment begins with thoroughly removing the cavity.
After anesthesia, the decayed area is removed, and the tooth is smoothly shaped so that a custom inlay prosthesis can fit precisely.
At this point, the removal is done as conservatively as possible with minimal reduction,
so damage to the natural tooth is not large, and the pain from anesthesia is relatively mild.
Step 3. Digital scan or impression taking
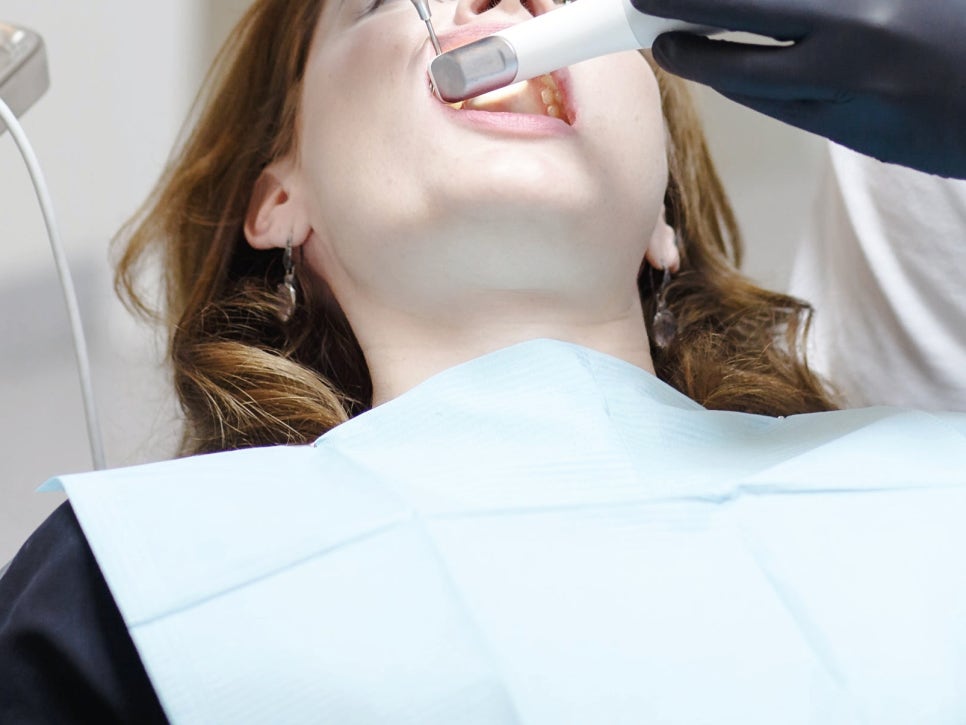
Magok-dong Dental Clinic_Intraoral scanner impression taking
Once the treatment area has been prepared,
work begins to make the prosthesis.
Usually, this is done by taking an impression with a material such as silicone.
However, at Seoul Dia Dental Clinic, we use an intraoral scanner.
Digital scanning allows the oral structure to be analyzed precisely in 3D in just a few minutes without any unpleasant foreign-body sensation, so patient satisfaction is very high.
We also adopt the digital method called Just Scan,
to produce custom prostheses more quickly and accurately.
Step 4. Temporary filling to protect the tooth
Magok-dong Dental Clinic_Temporary inlay application
If it is not a same-day inlay system,
while the prosthesis is being made,
a temporary filling is placed to protect the tooth.
During this time, you should be careful not to apply too much chewing force,
and there may be some restrictions on eating.
However, there is no major inconvenience in daily life,
because the tooth is given the minimum functional protection needed, so there is no need to worry.
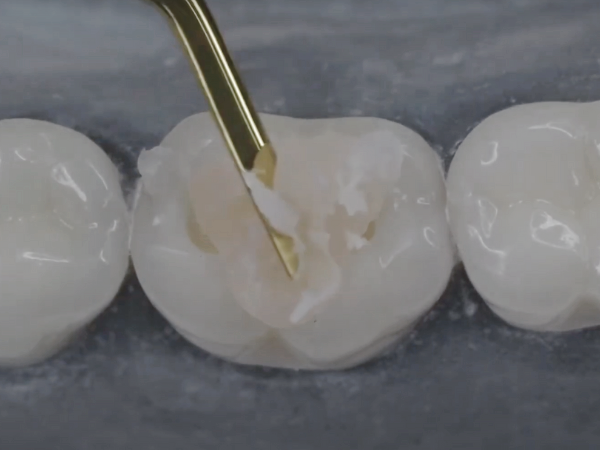
Step 5. Final inlay placement & bite adjustment
Magok-dong Dental Clinic_Inlay attachment
Once the finished inlay arrives at the clinic,
the temporary prosthesis is removed and the inlay is carefully fitted.
After carefully checking whether the bite is balanced, whether there is any space for food to get stuck between the teeth,
and whether the bonding is stable, final cementation is performed.
After the finishing polish is completed,
a truly ‘feels like my own tooth’ inlay is finished.
How long does inlay prosthetic treatment take, and how many visits are needed?
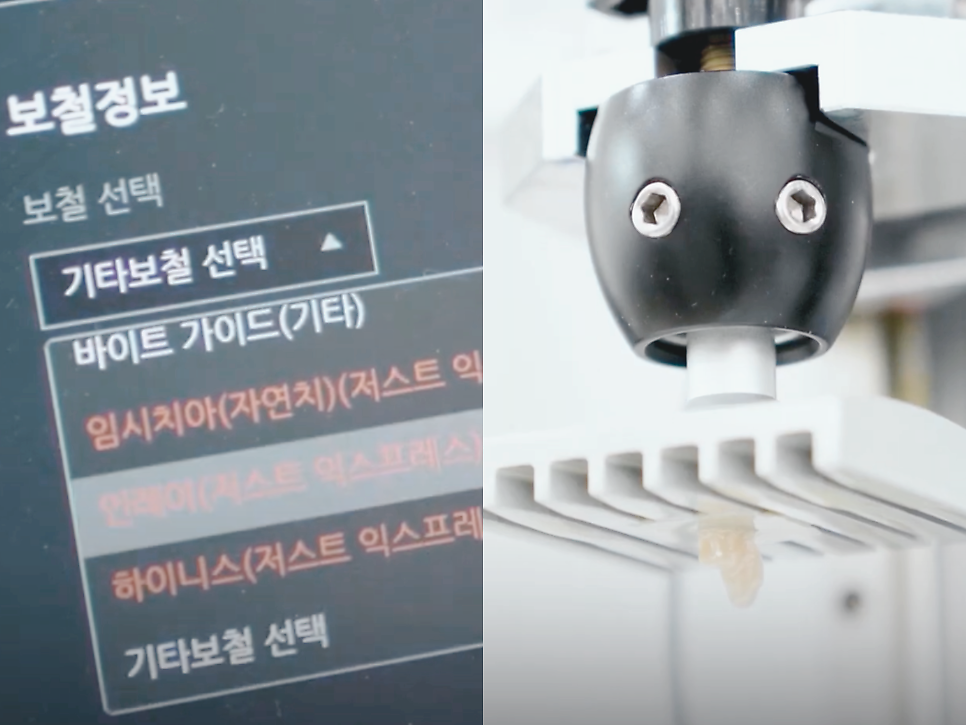
Magok-dong Dental Clinic_Prosthesis fabrication using Just Scan
At a clinic like Seoul Dia Dental Clinic in Magok-dong,
a same-day single-visit treatment is possible when using ‘Just Scan.’
In other words, you can come in the morning and complete diagnosis → cavity removal → scan → inlay fabrication → placement
all within one day.
This is a huge advantage for office workers or students who do not have much time.
However, if the traditional impression-taking method is used and ‘Just Scan’ is not utilized,
additional time is needed for the dental lab to fabricate the prosthesis, so two visits are generally required.
Visit 1: cavity removal + impression taking + temporary inlay
Visit 2: prosthesis placement after 5–7 days
However, the detailed schedule may be adjusted depending on the patient’s condition, the type of prosthesis, and the dental lab’s situation.
Seoul Dia Dental Clinic offers same-day inlays!
Seoul Dia Dental Clinic uses the intraoral-scanner-based Just Scan system
to provide faster and more precise same-day inlay treatment.
By reducing unnecessary visits and shortening treatment time,
we pursue smart care that lessens both the patient’s time burden and overall 부담.
Today, we looked at the process of how inlay treatment is performed,
following each step as it actually happens inside the dental treatment room.
“Less painful than I thought?”
“It doesn’t take that long?”
If even a little of that feeling came across, then I think this post has done its job.
Magok-dong Dental Clinic_Dia Dental Clinic
Now, in Part 4, we’ll cover pain after inlay treatment.
From why pain occurs after treatment to how to manage it!
We’ll come back with a clean, organized summary.
When? Tomorrow, of course~^^
This has been Magok Dia Dental Clinic,
Wishing you a happy day today.
[ This post was written in accordance with the Medical Service Act for the purpose of providing accurate information about dental surgery and procedures. Infection and side effects may occur after surgery, so you should decide on the surgery (procedure) only after sufficient consultation with a skilled medical professional. ]
[ Magok Station Dia Dental Clinic Inlay Series ]
-
Inlay indications
-
Types of inlay materials
-
Inlay treatment process (feat. Just Scan)
-
Causes of pain after inlay treatment and how to manage it
-
Causes of inlay prosthesis detachment
-
Precautions after inlay treatment